mybb Support
Create a new form/survey
- We use the terms form and survey interchangeably.
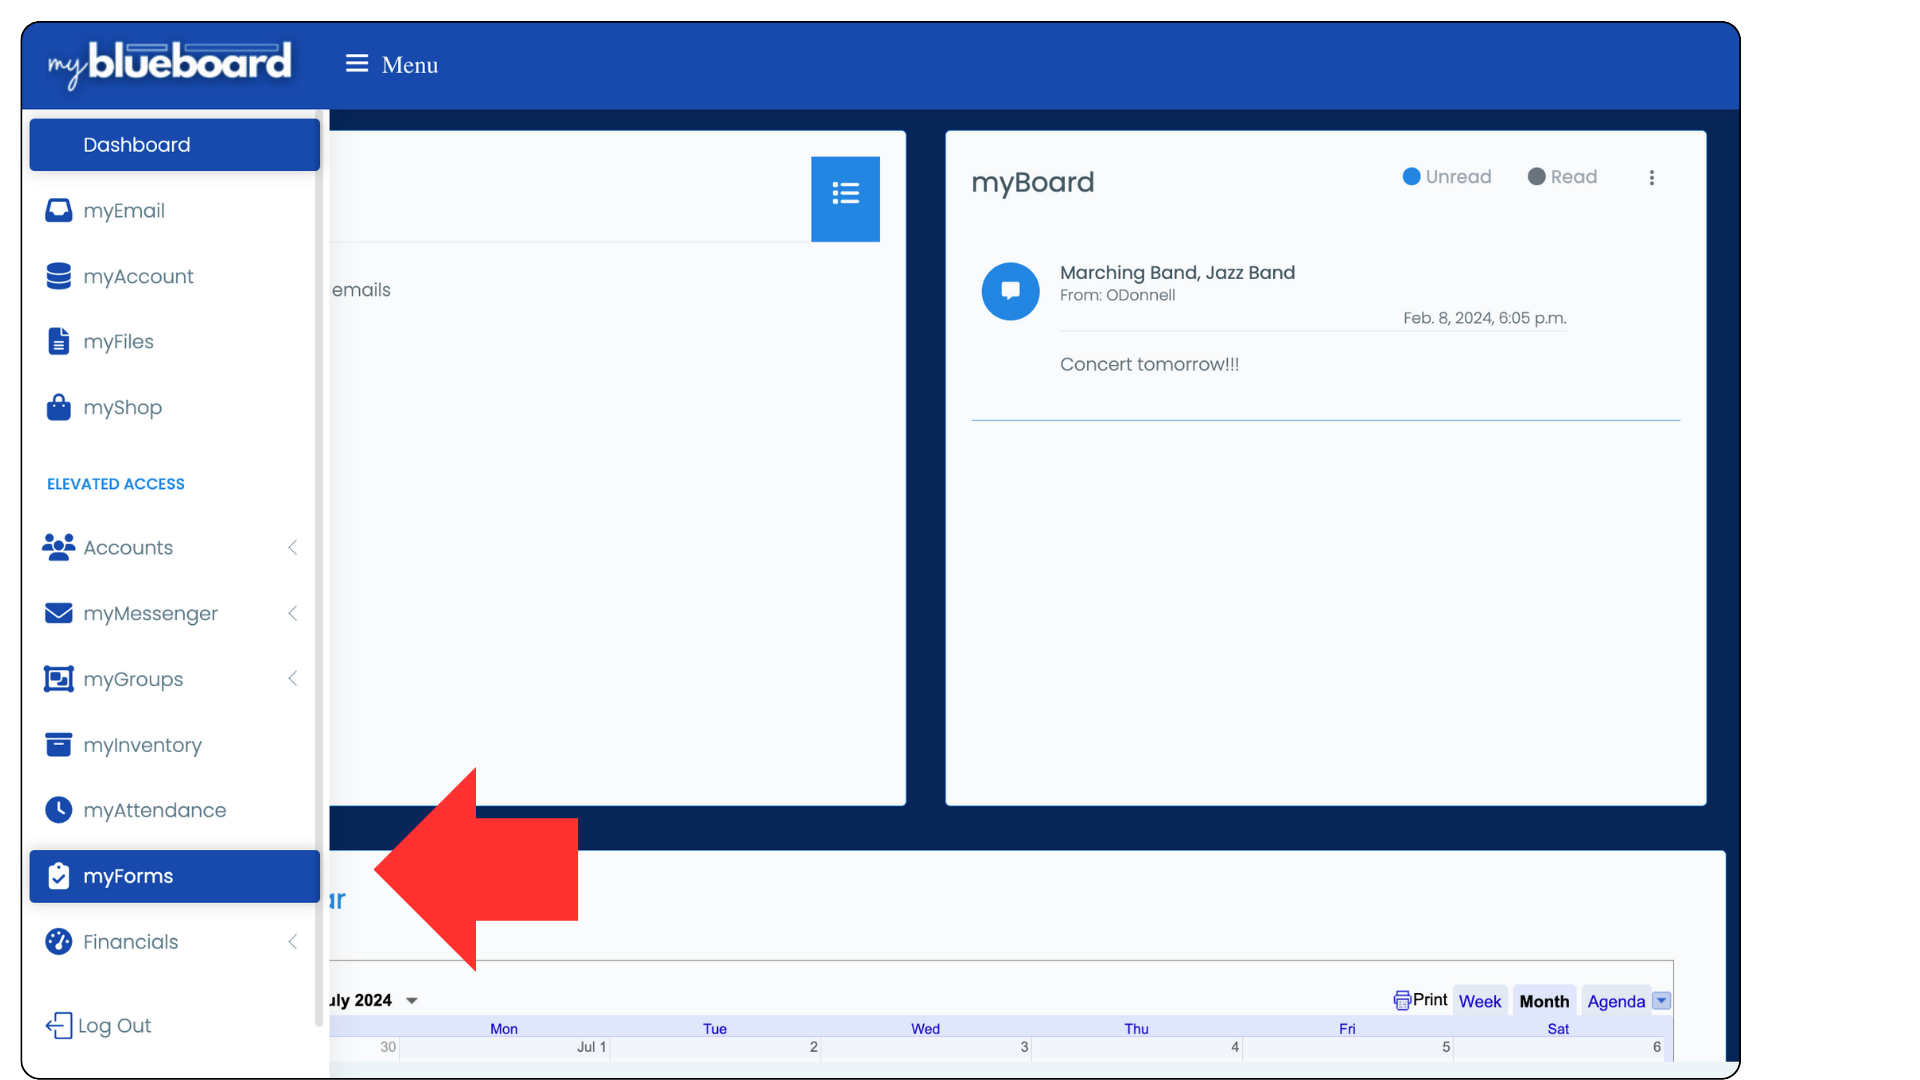
- Select
myForms from the left side of your dashboard.
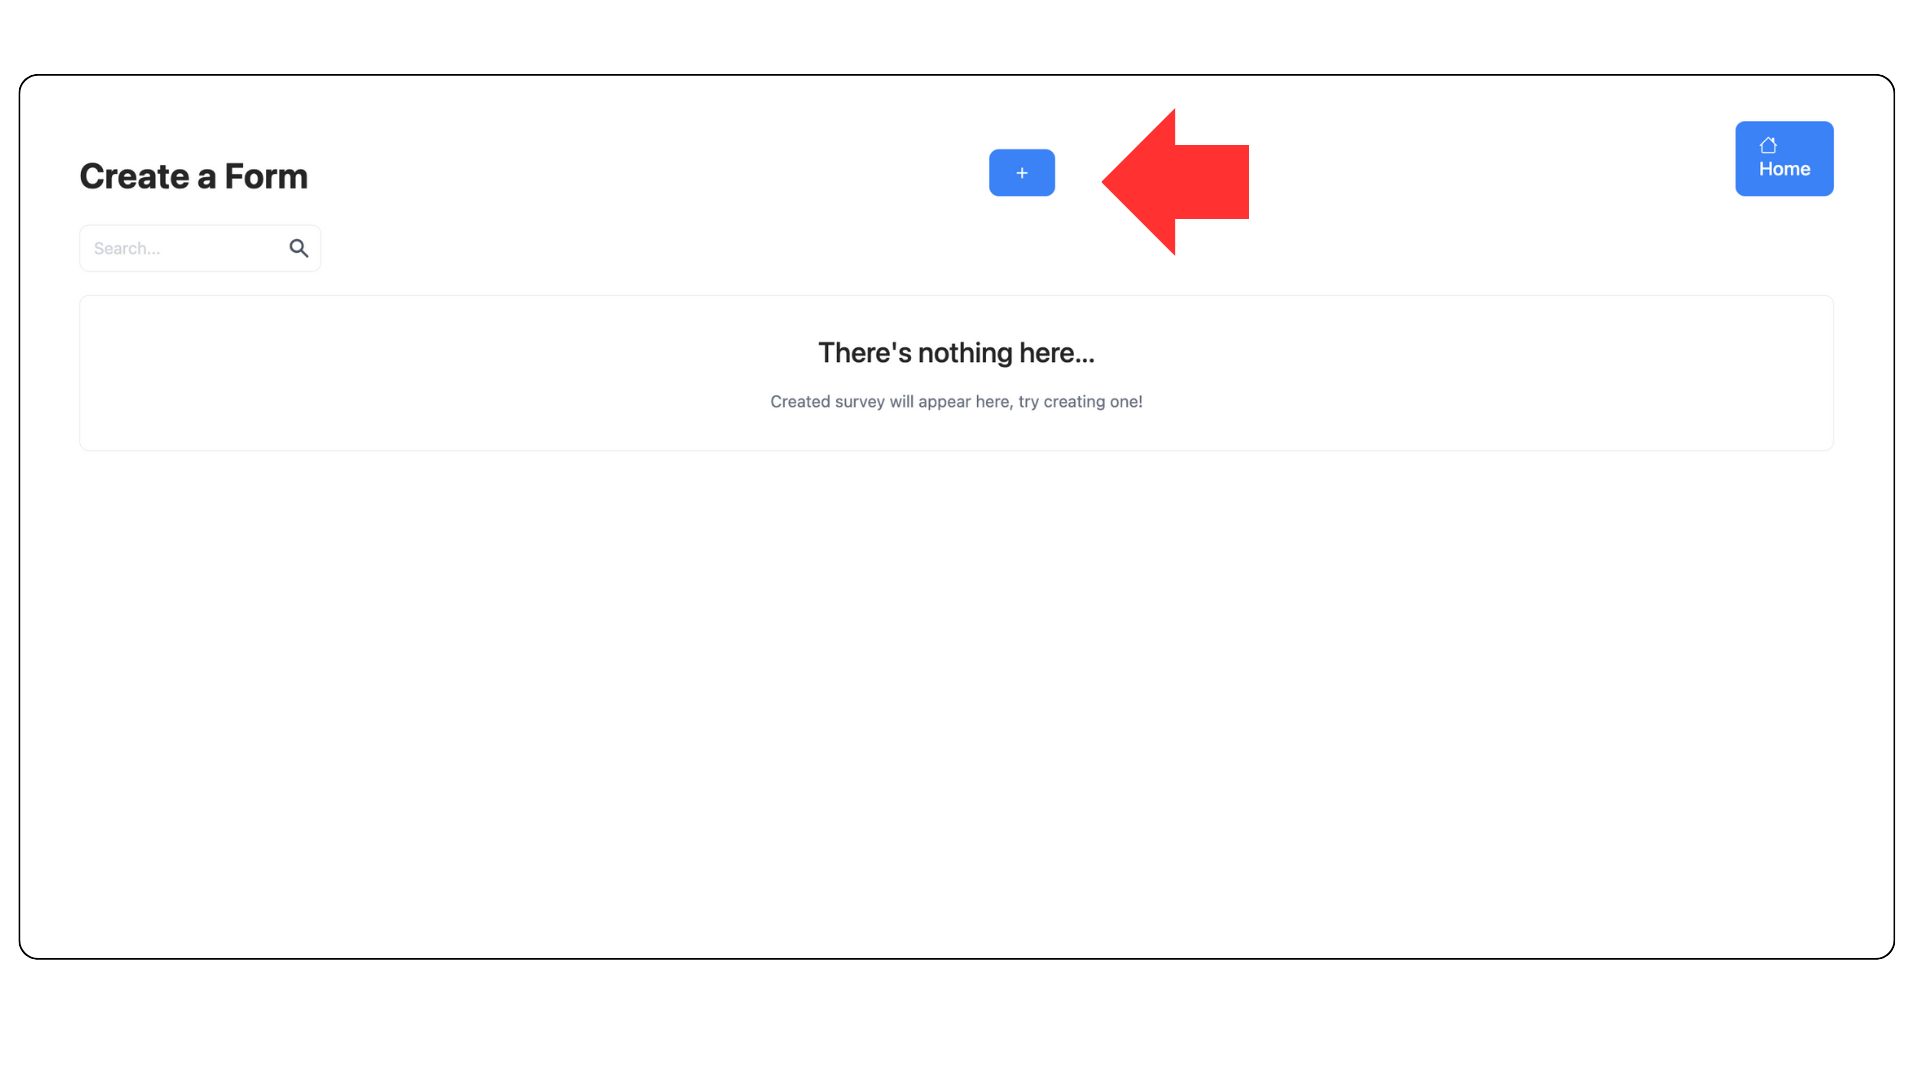
- Select the blue "+" button in the center of the myForms home screen.
- A new survey form will populate.
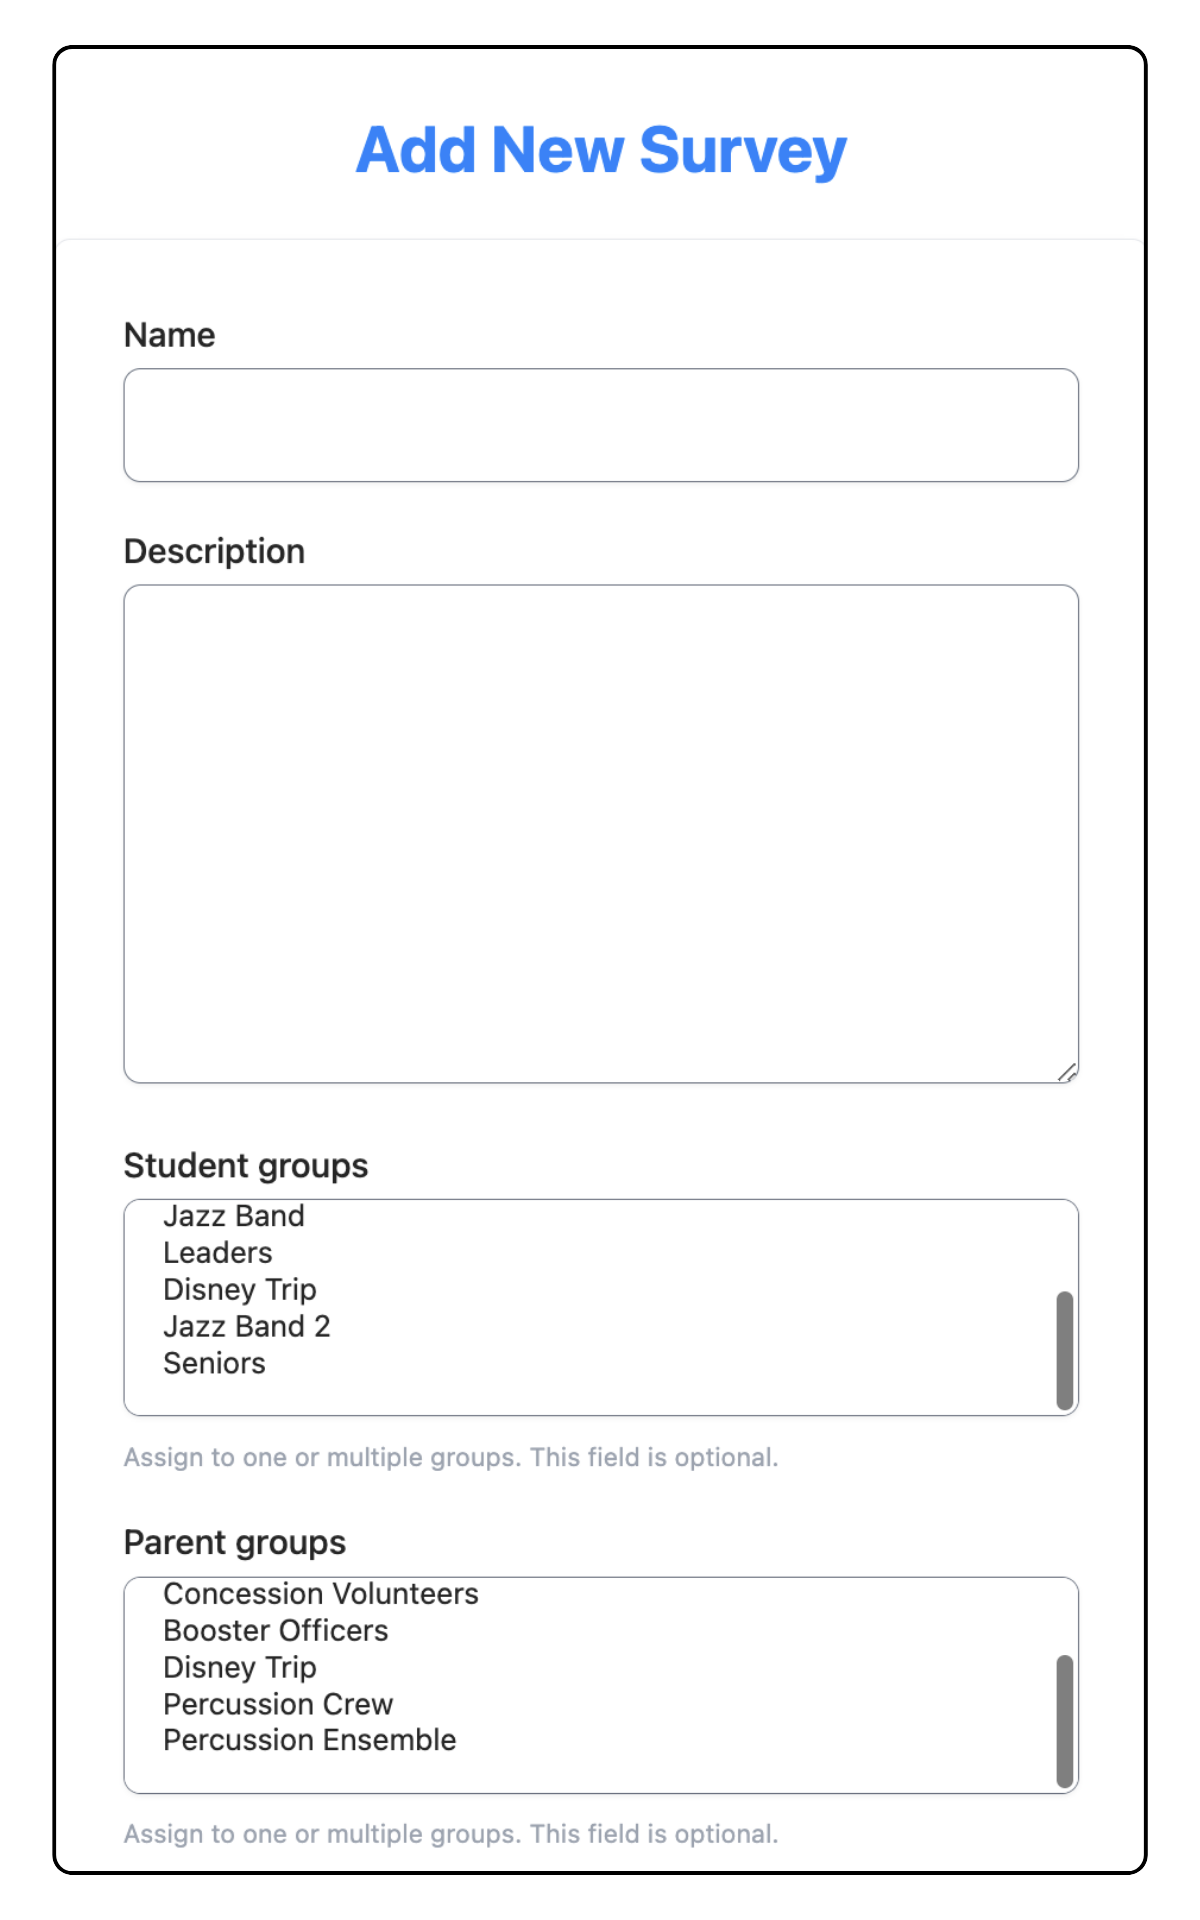
- Name your survey and enter a Description.
- Select the relevant Student groups by clicking on the name of the group. To select multiple groups, hold down the shift key as you continue selecting. You must begin selecting from the top down. This field is optional.
- Select the relevant Parent groups by clicking on the name of the group. To select multiple groups, hold down the shift key as you continue selecting. You must begin selecting from the top down. This field is optional.
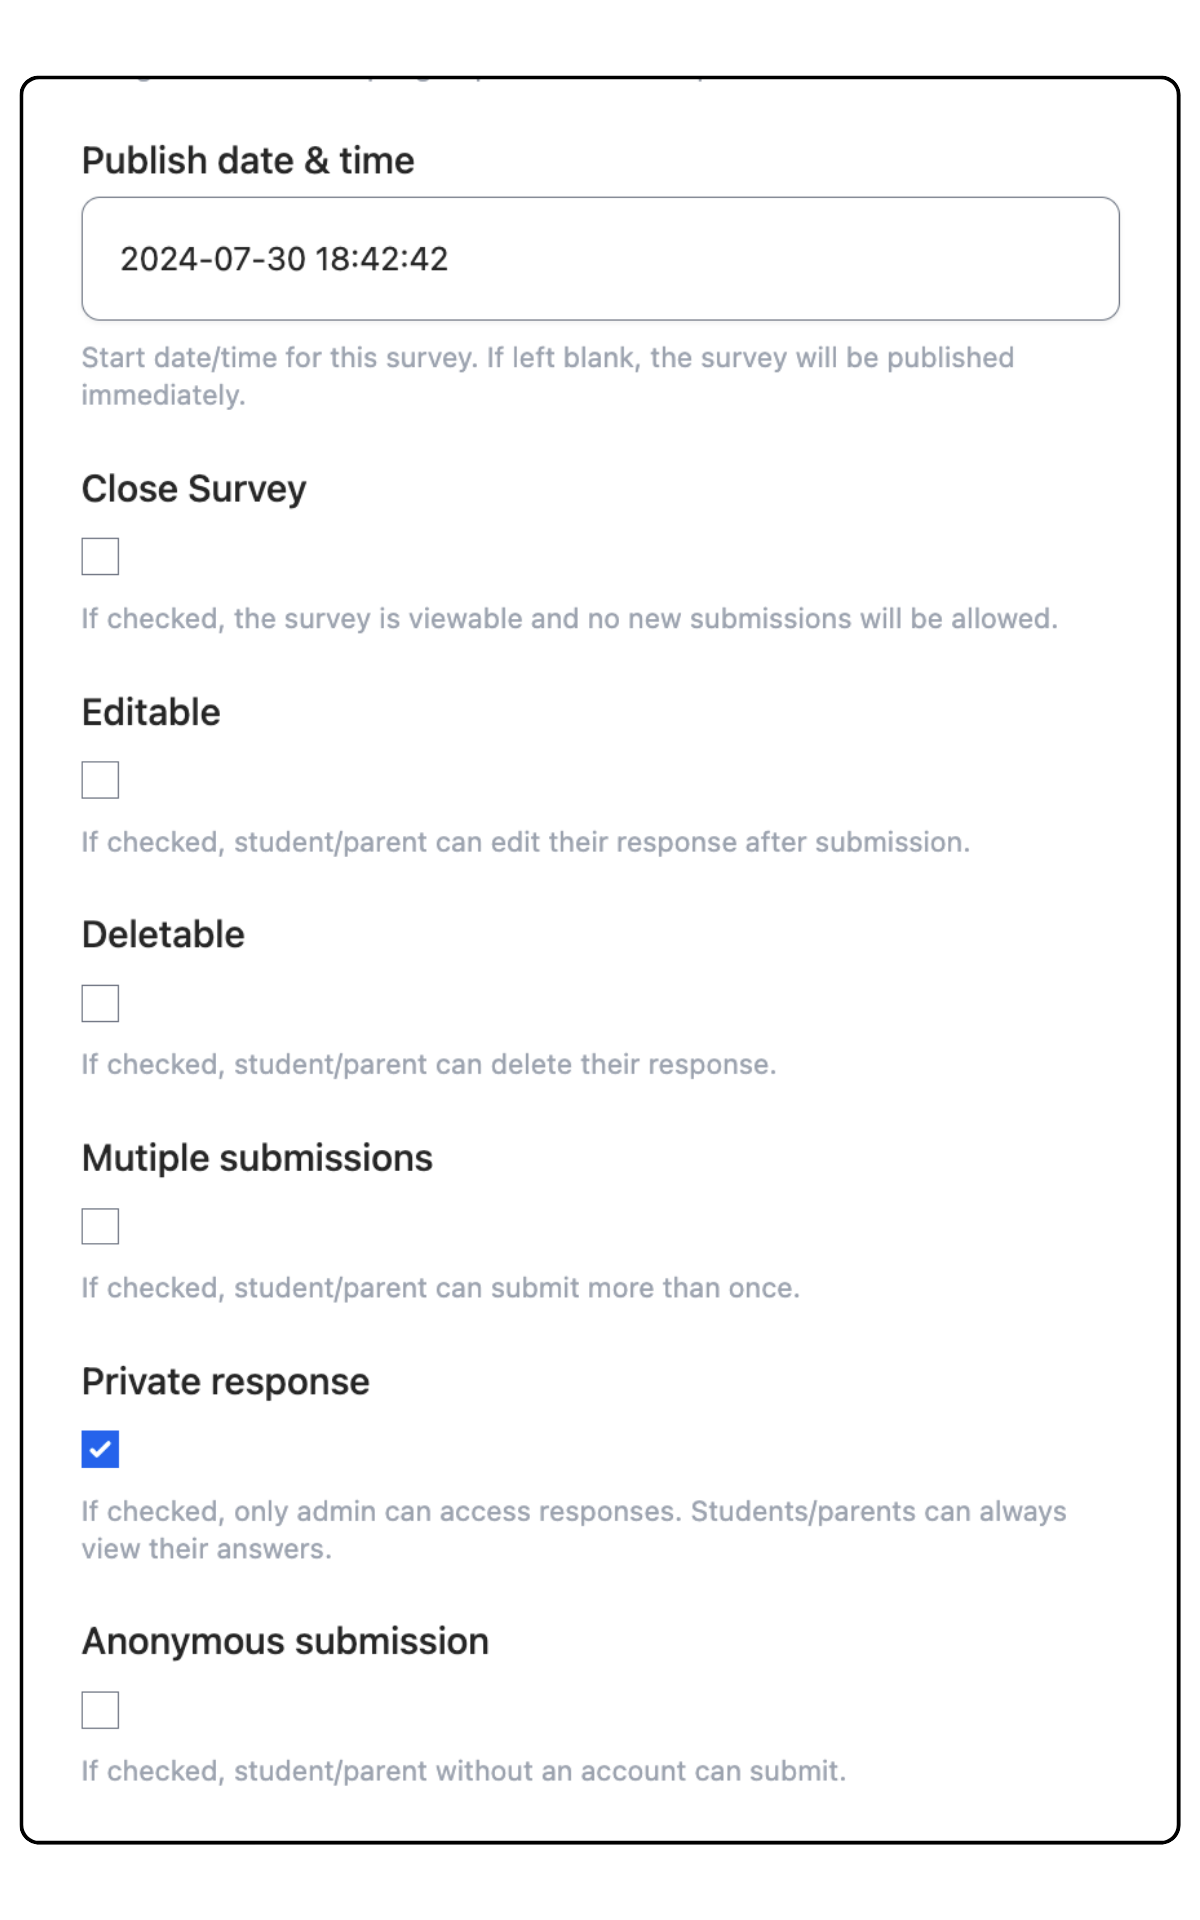
- The Publish date and time will autopopulate to be current. You can change the publish date and time using the following format: year-month-date military time (24 hour clock) example: 2024-07-30 18:42
- Select the Close Survey box if you want the survey to remain viewable, with no additional submissions allowed.
- Select the "Editable" box to allow students and parents to edit their responses after they have submitted the survey.
- Select the Deletable box to allow students and parents to delete their responses.
- Select the "Multiple submissions" box to allow students and parents to submit more than one response.
- Private response is checked by default, which means only admins can access submission responses. Uncheck the box to allow submissions to be viewable by anyone.
- Select Anonymous submission to allow students and parents without an account to submit responses.
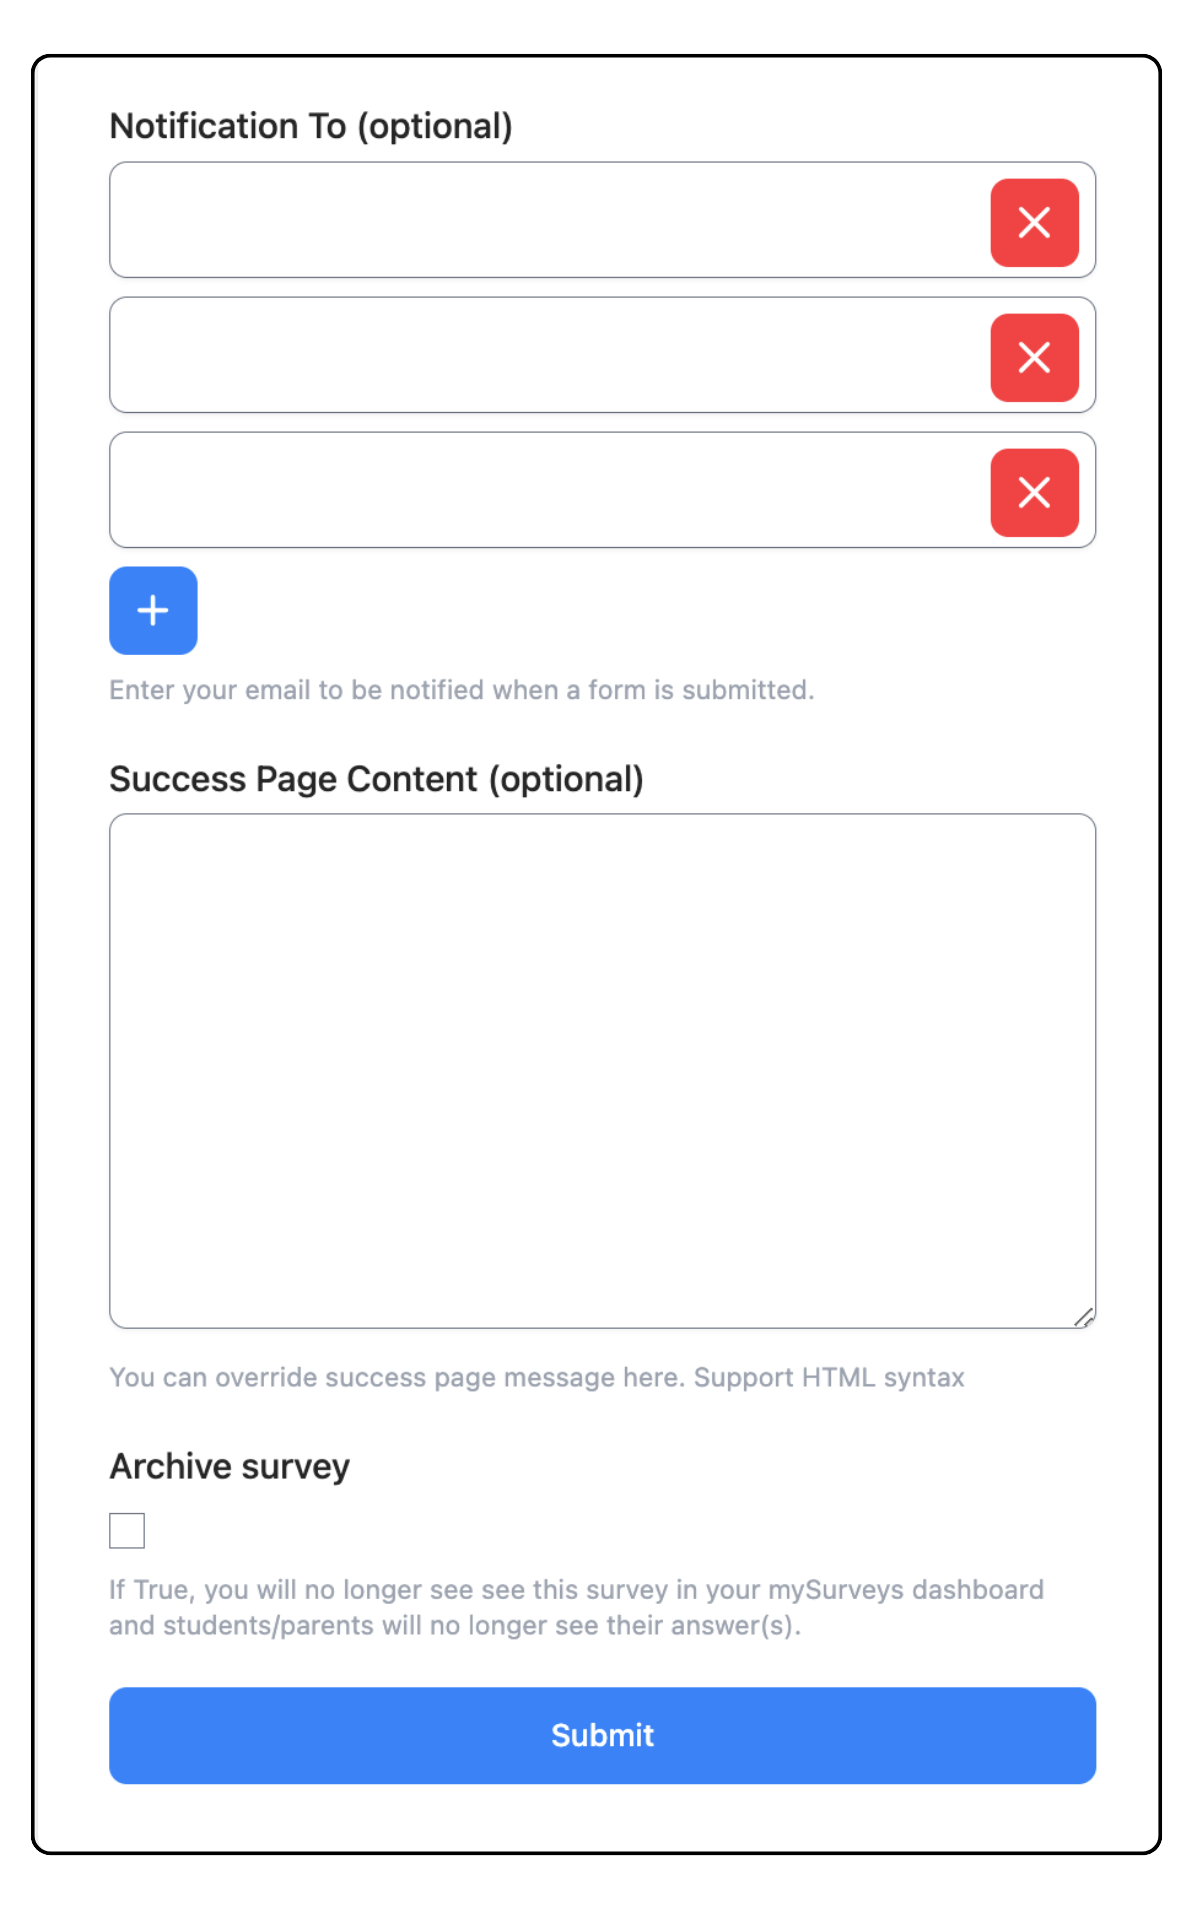
- To receive notifications when a form is submitted, enter the email address you would like the notification sent to. Add multiple emails by selecting the blue + button. This field is optional.
- Enter a custom Success page message. This is the message students and parents receive after they have successfully submitted a response.
- If you select the Archive survey box, it will no longer be visible on admin, student, or parent dashboards.
Adding survey questions
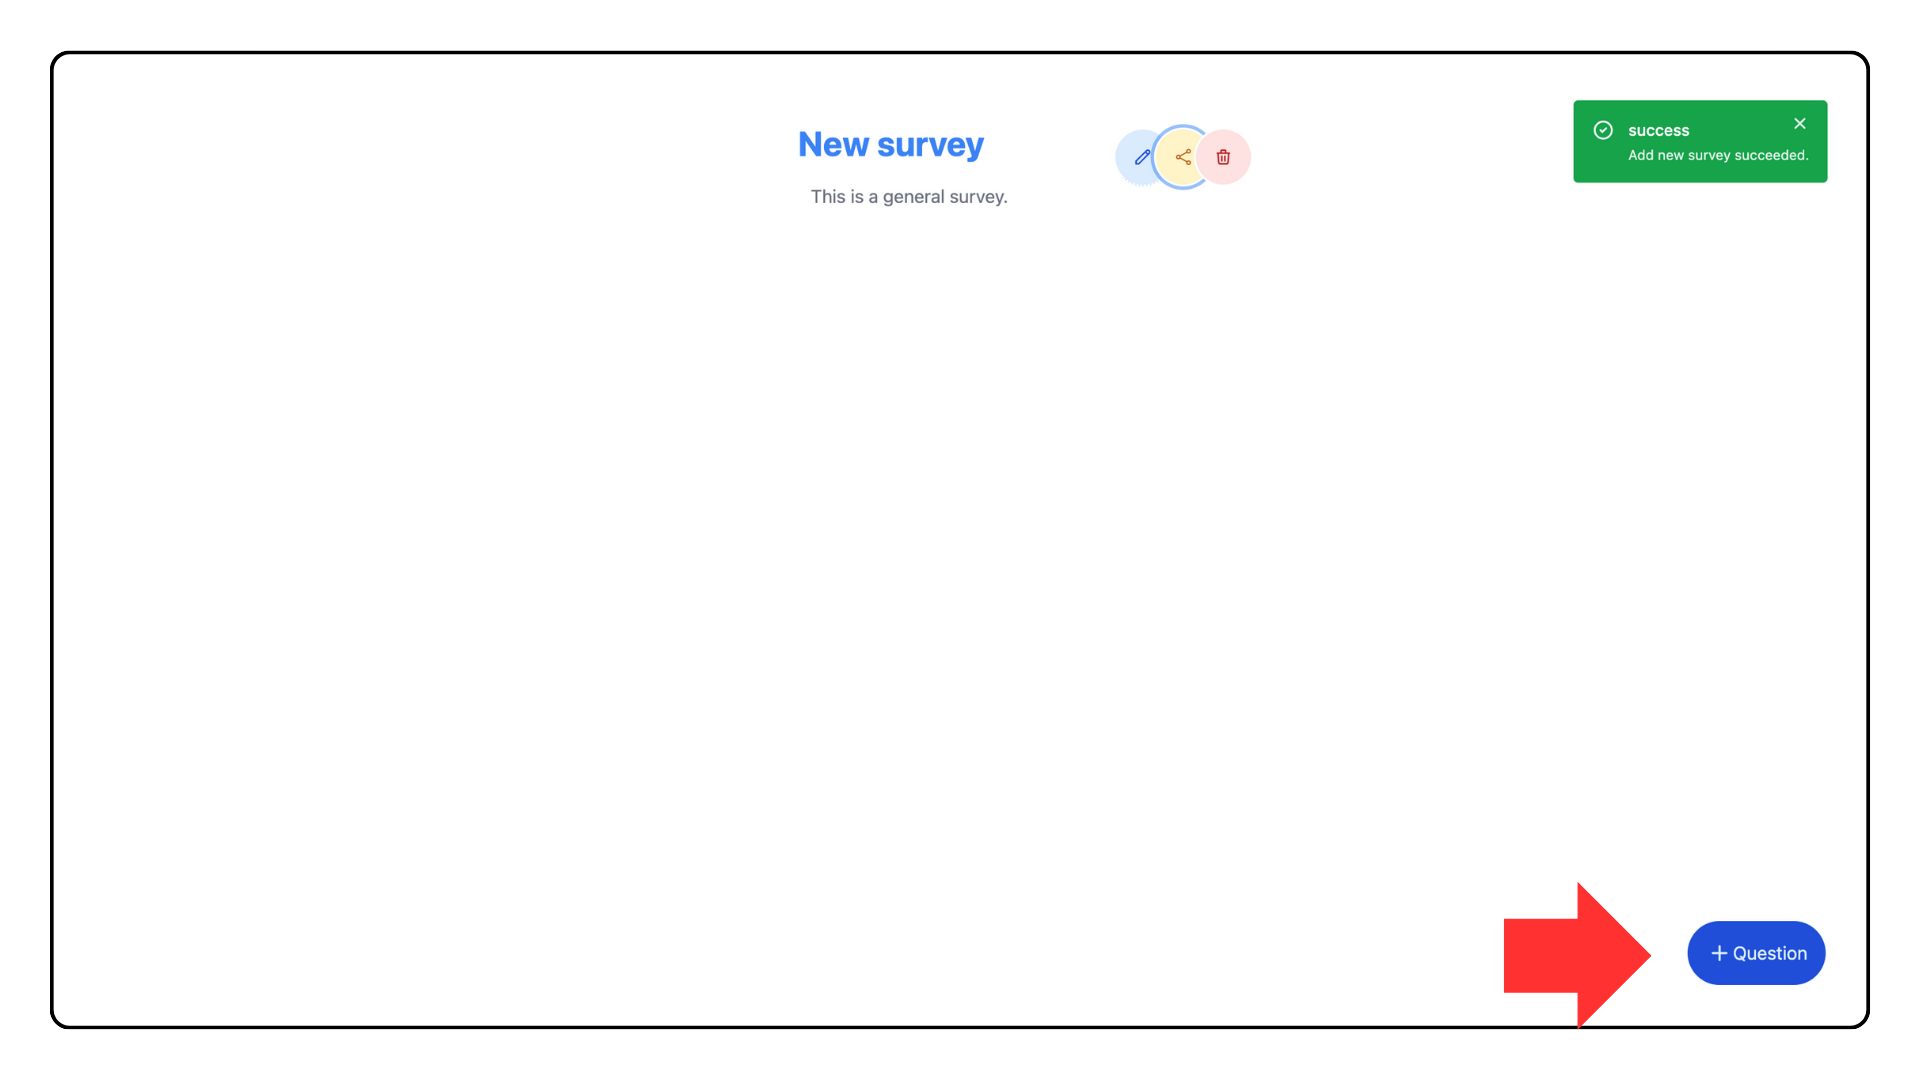
- Add a question with the blue + Question button on the bottom right of the page.
Question Types
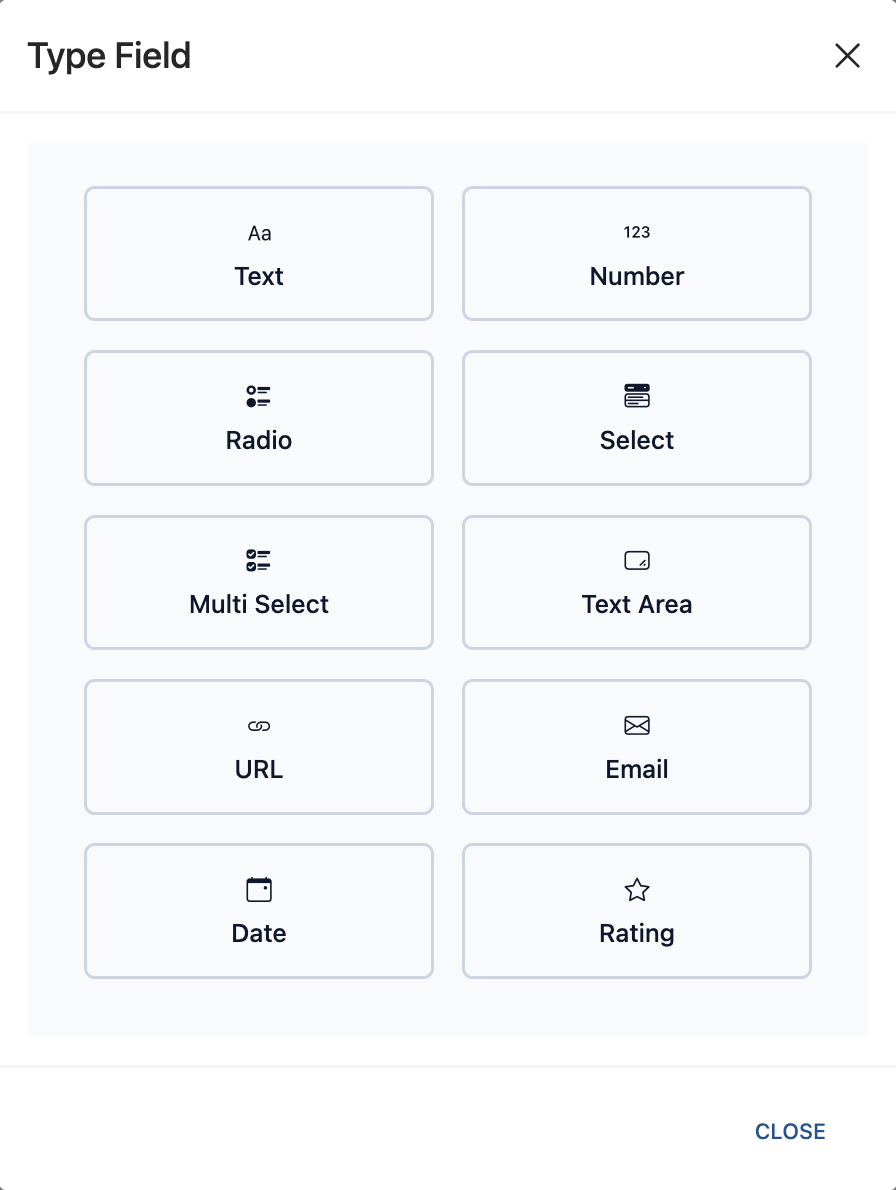
Text and Number Fields
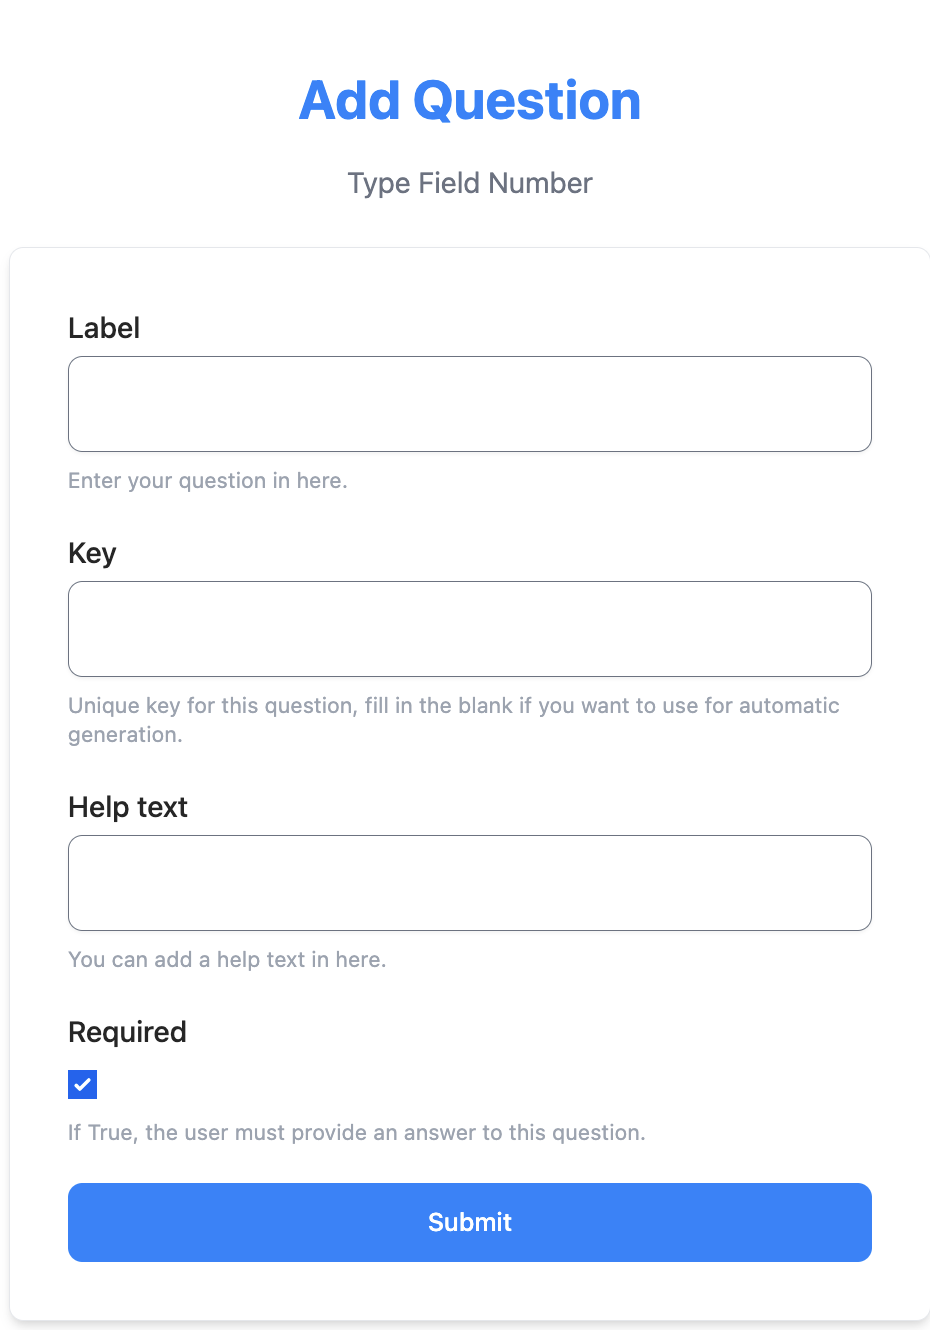
- Select the field type from the Type Field box.
- Text: Use this when you are seeking a short text response to a question.
- Number: Use this when you are seeking a number response to a question.
- When you choose a Text or Number field type, an Add Question box will populate.
- Enter the question or statement in the Label field.
- Use the Help text field to add a description to your question.
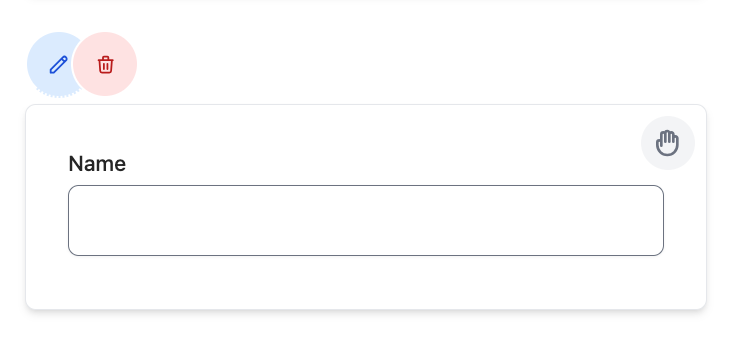
Radio Field
- Use the Radio field for a single-choice question with a list of possible responses.
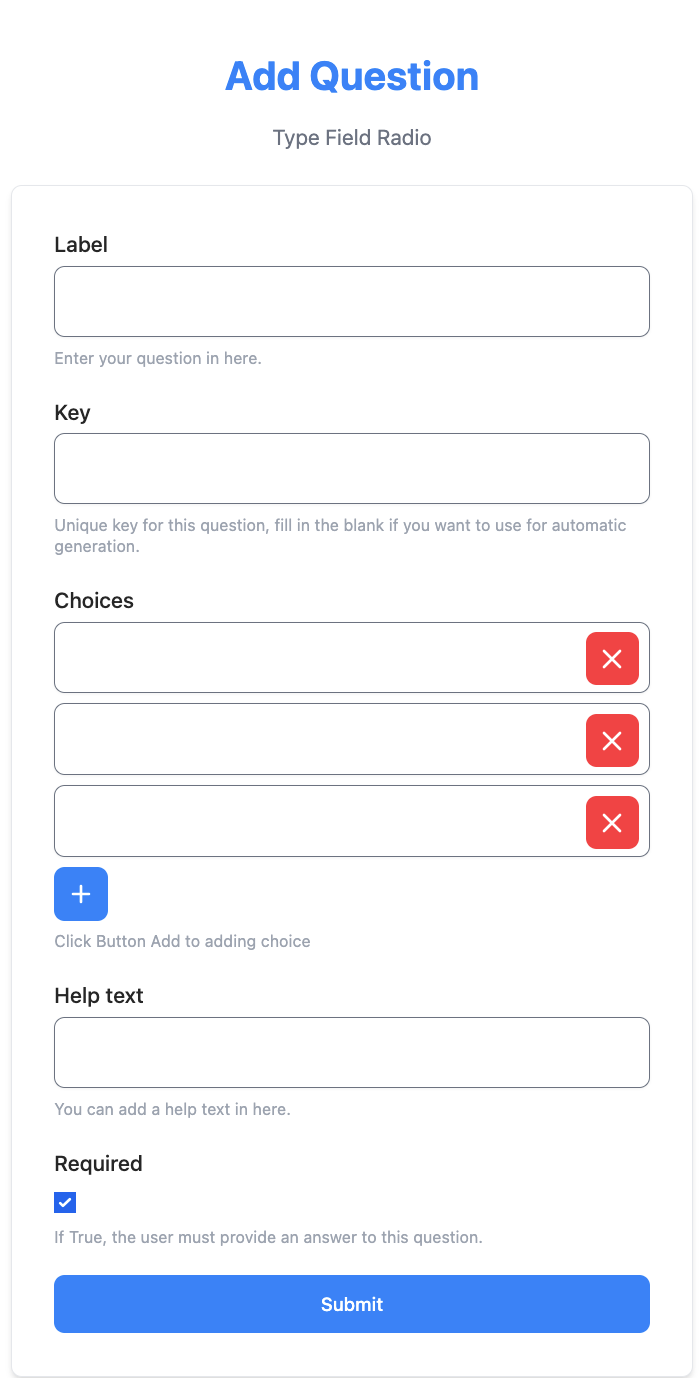
- Use the Label field to enter your question or statement.
- Use the Choices fields to list the possible responses. To add more choices, ,use the blue + button.
- Use the Help text field to add a description to your question.
- Select the Required box to make the question required.
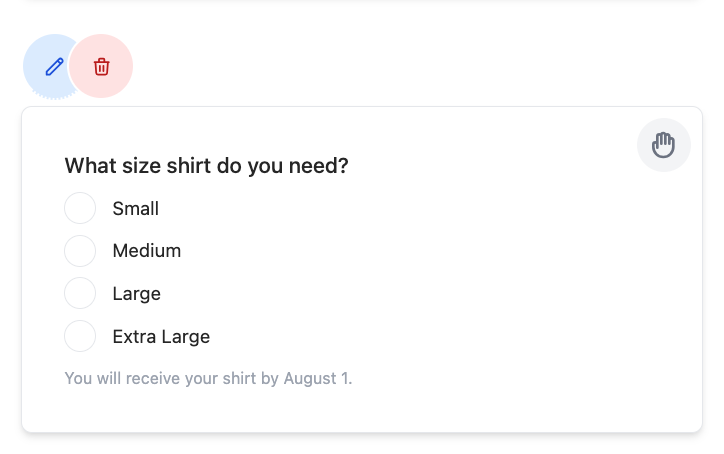
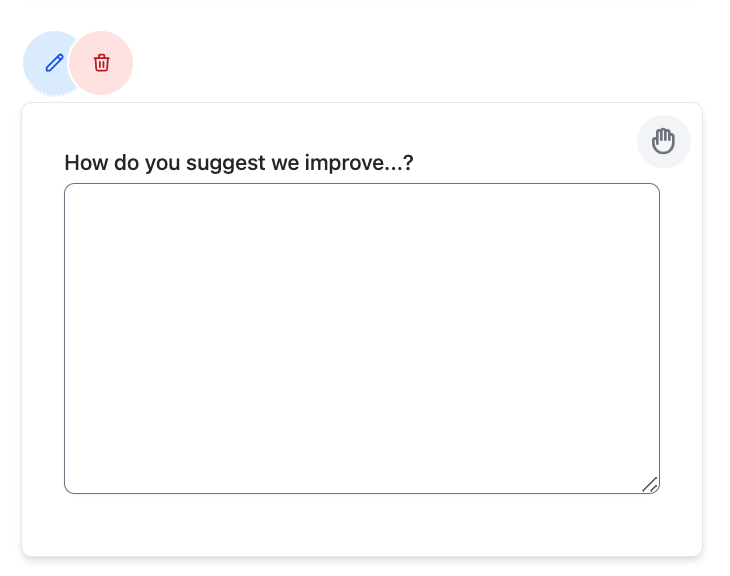
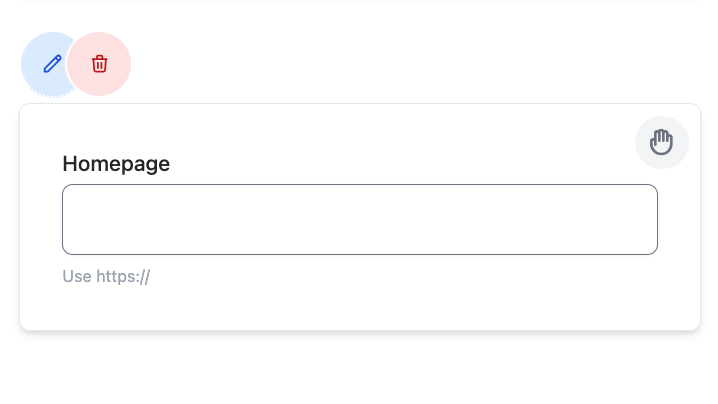
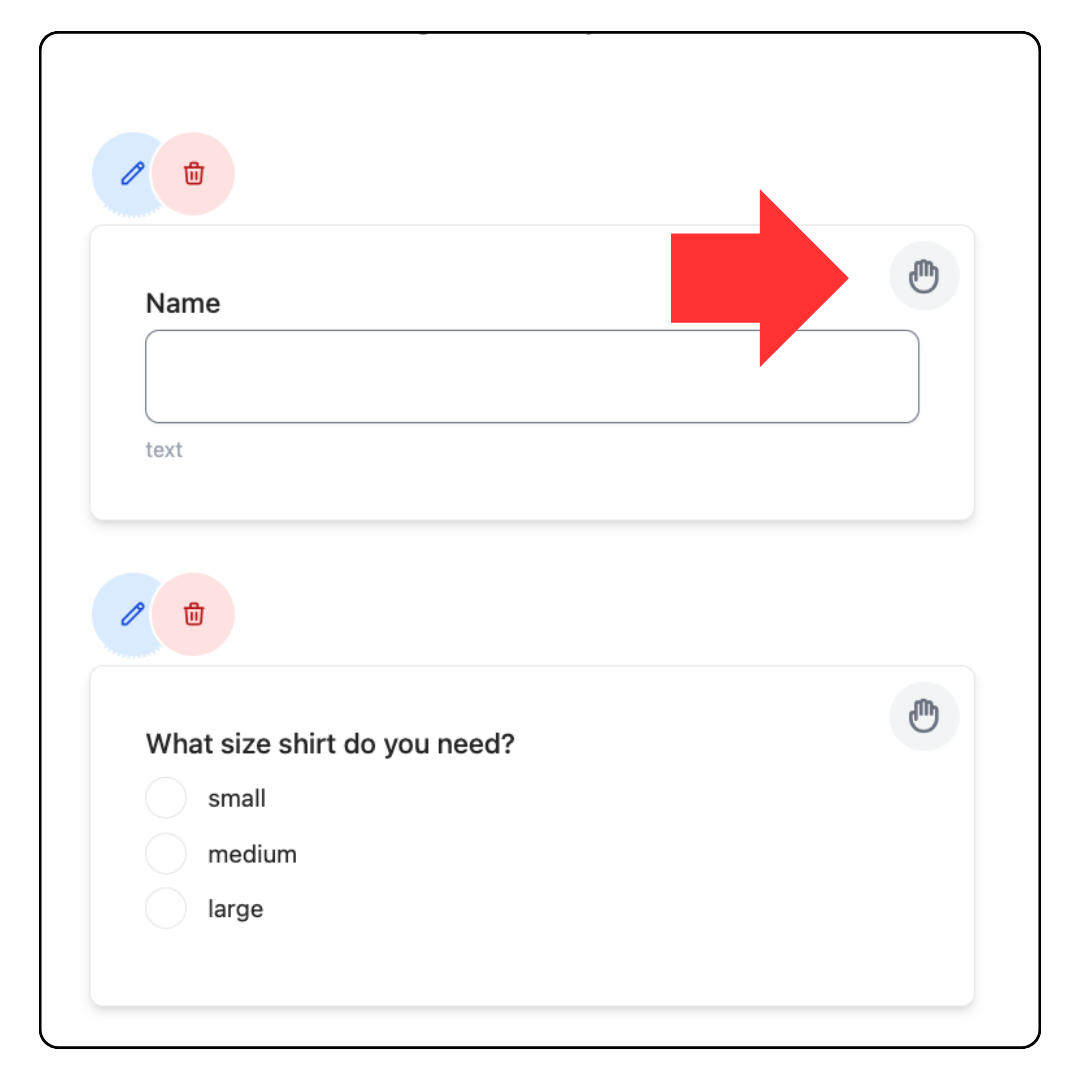
- Use the hand icon in the right corner of the question to drag and drop reorder your questions.
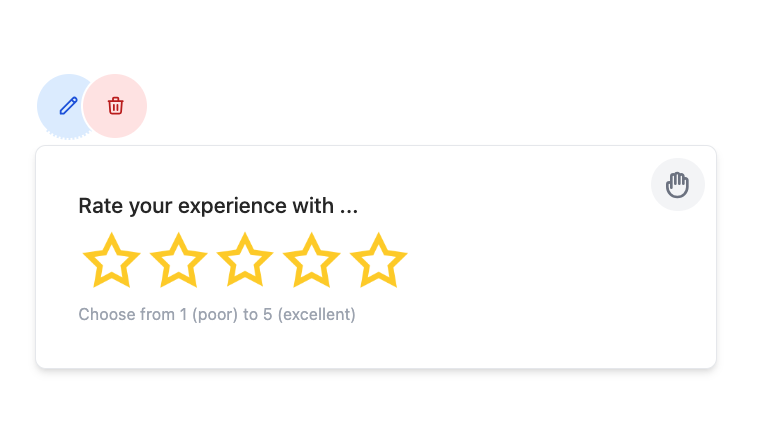
- To edit the question, select the blue pen icon.
- To delete the question, select the red trash icon.
Dropdown Select Questions
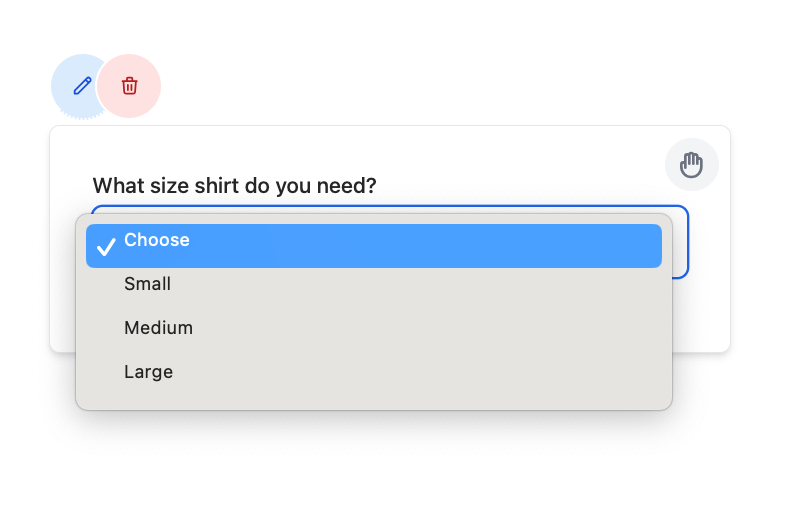
Use the Select field for a single-response multiple choice question with a dropdown list of responses.
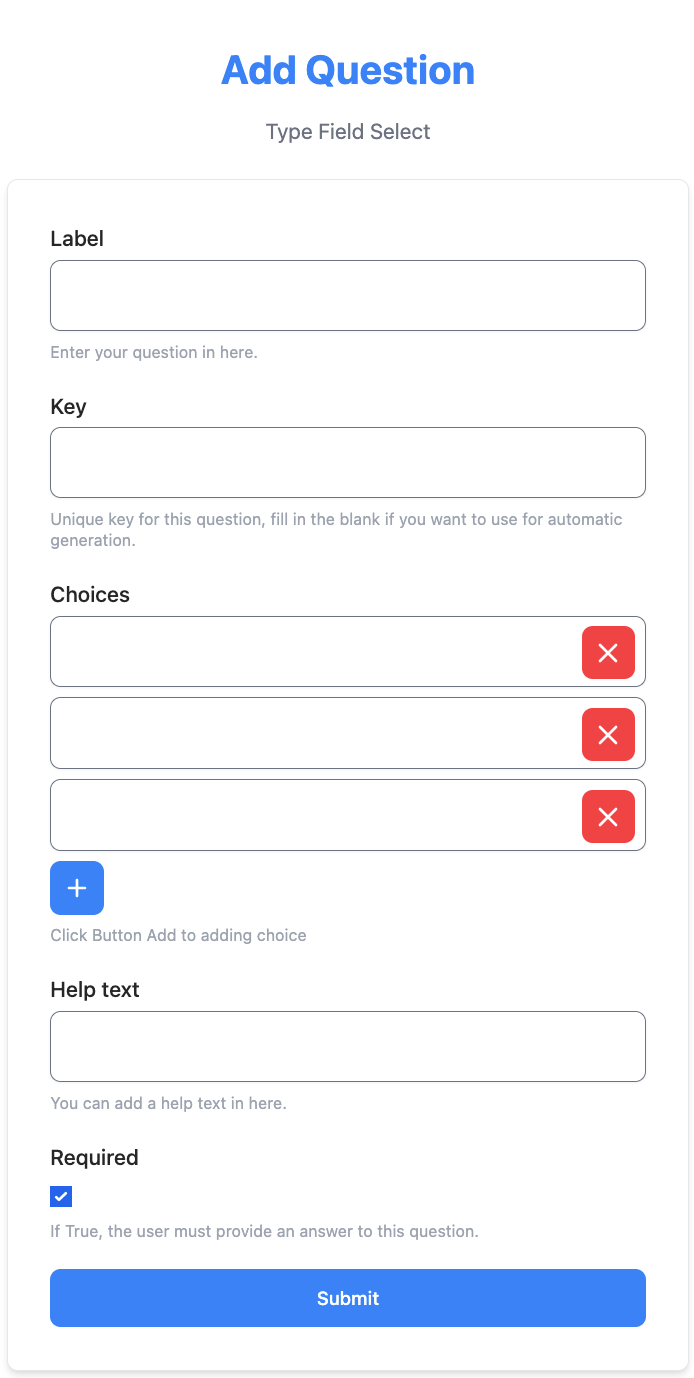
- Use the Label field to enter your question or statement.
- Use the Choices fields to list the possible responses. To add more choices, ,use the blue + button.
- Use the Help text field to add a description.
- Select the Required box to make the question required.
Multi Select Questions
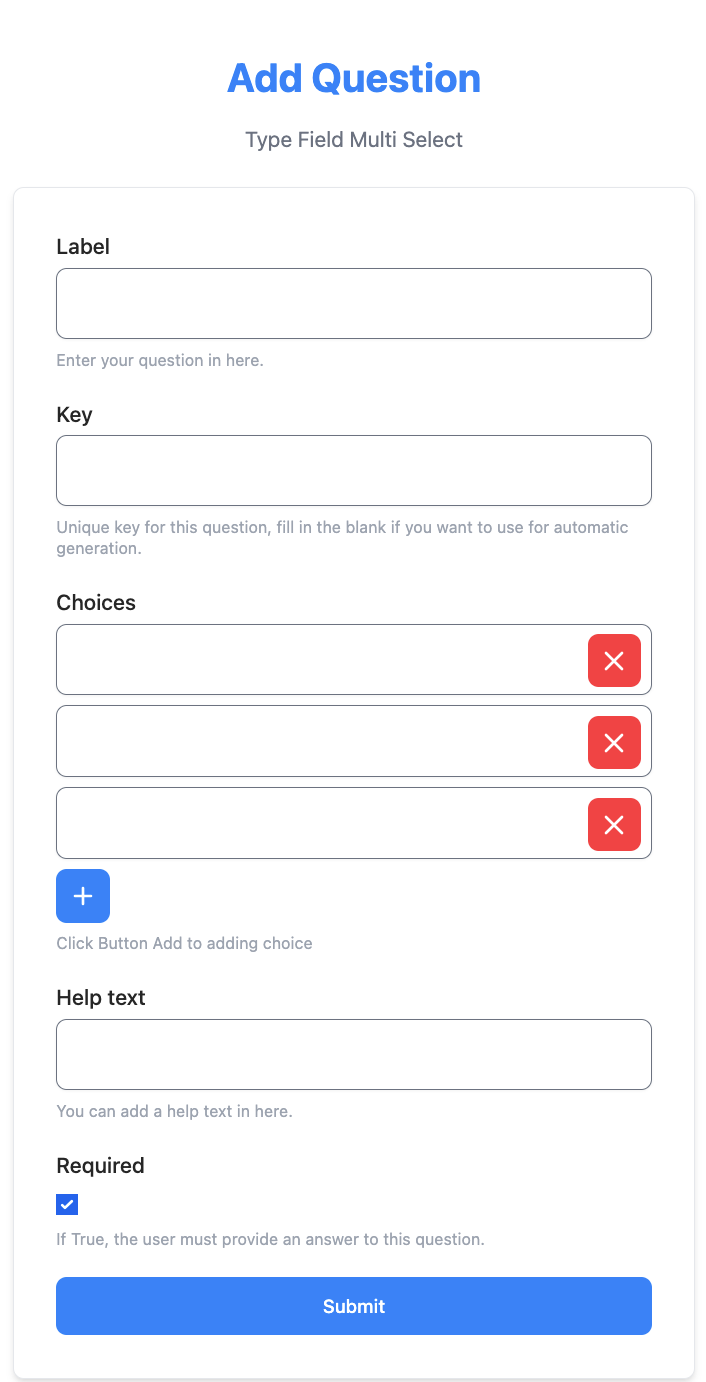
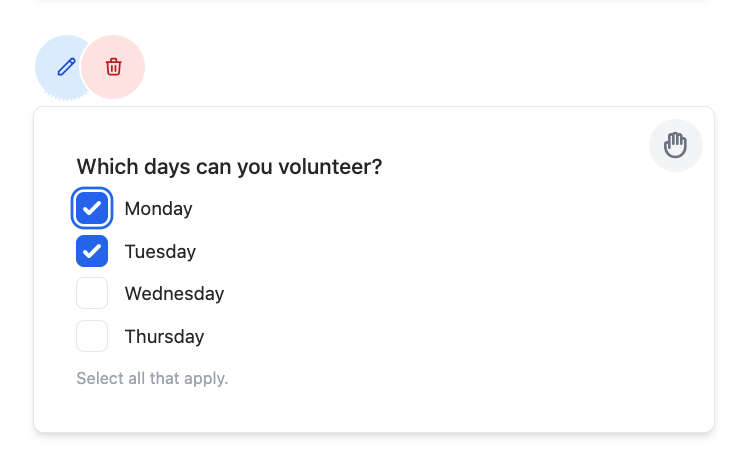
- Use the Multi Select field for a multiple choice question that allows respondents to choose more than one answer.
- Use the Label field to enter your question or statement.
- Use the Choices fields to list the possible responses. To add more choices, ,use the blue + button.
- Use the Help text field to add a description.
- Select the Required box to make the question required.
Text Area Field
- Use the text area field for questions that require longer (paragraph) text responses.
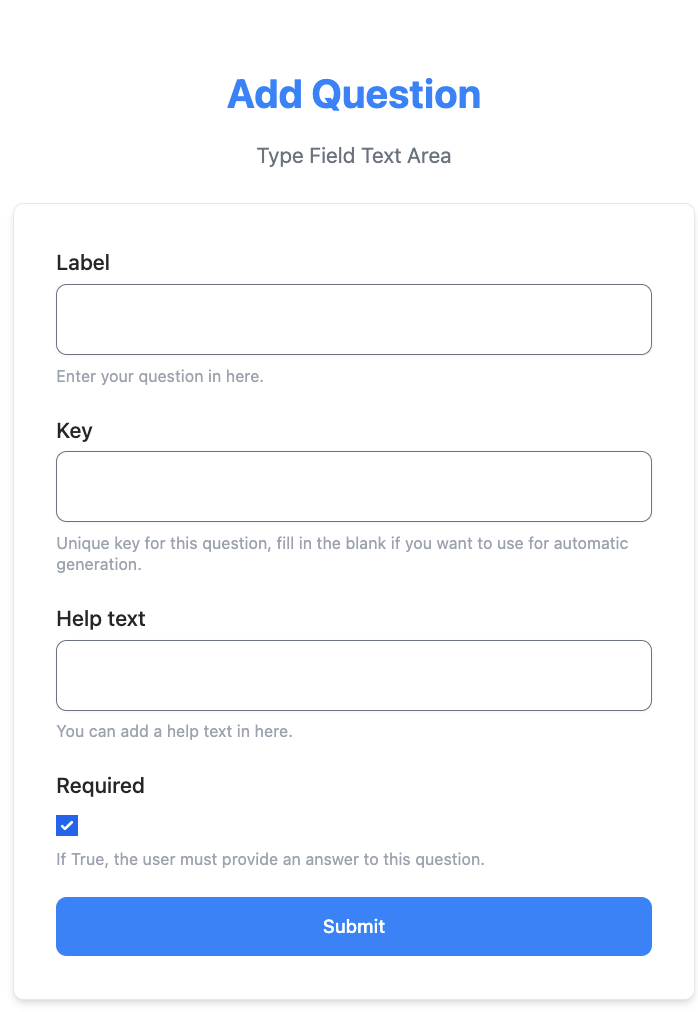
- Enter your question in the Label field.
- Use the Help text field to add a description to your question.
- Select the Required box to make the question required.
URL Field
Use the URL field to collect URLs from respondents.
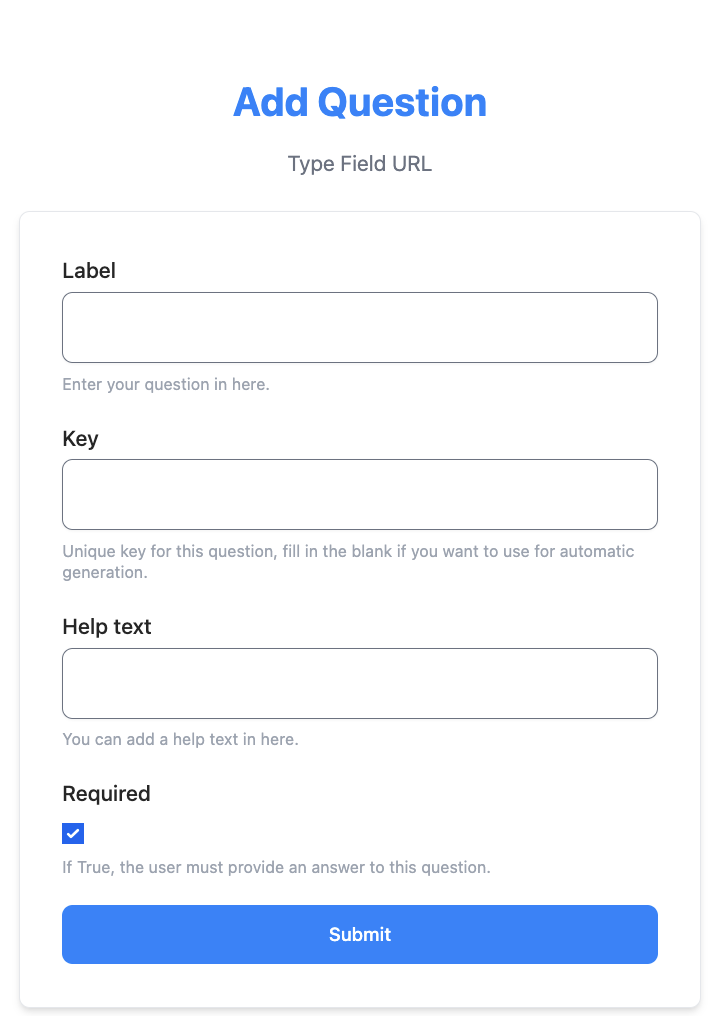
- Enter your question in the Label field.
- Use the Help text field to add a description.
- Select the Required box to make the question required.
Email Field
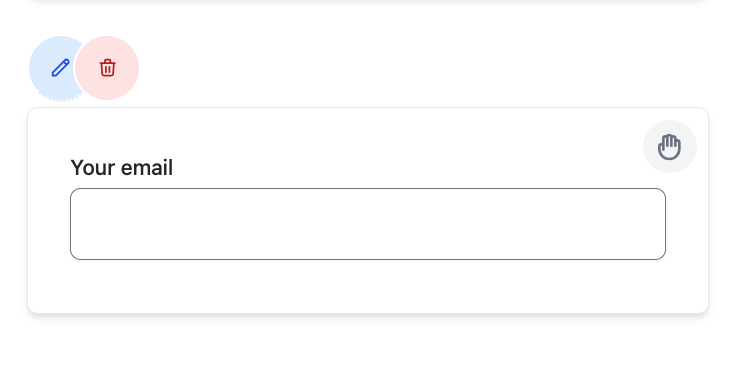
Use the email field to collect email addresses from respondents.
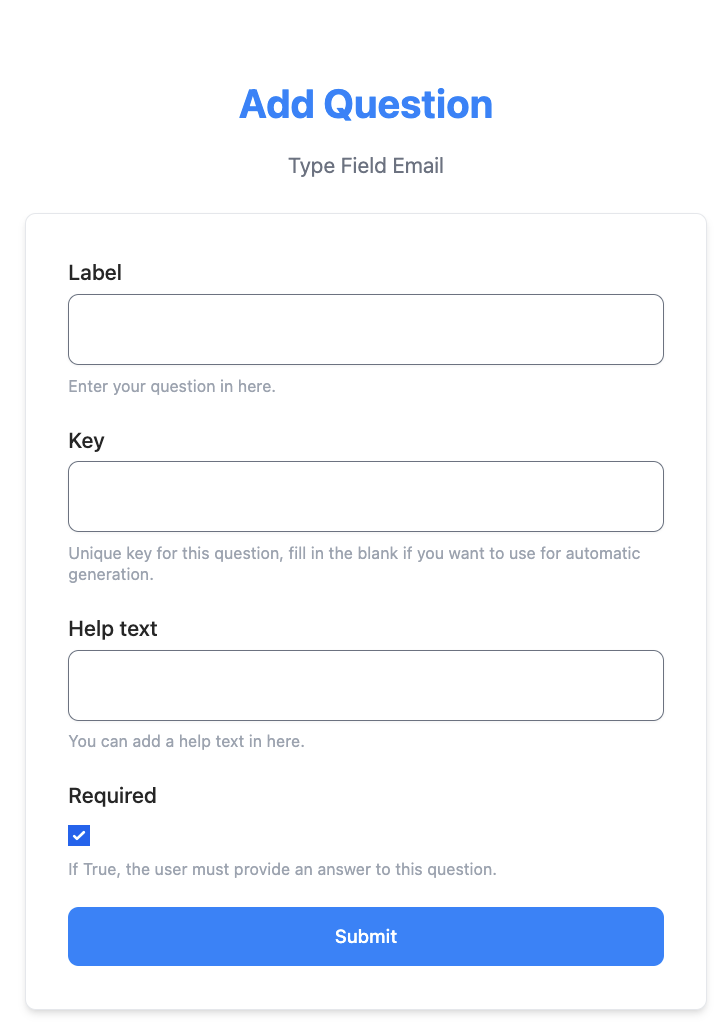
- Enter "Your email" (or some variation) in the Label field.
- Use the Help text field to add a description.
- Select the Required box to make it required for the respondent to enter their email address.
Date Fields
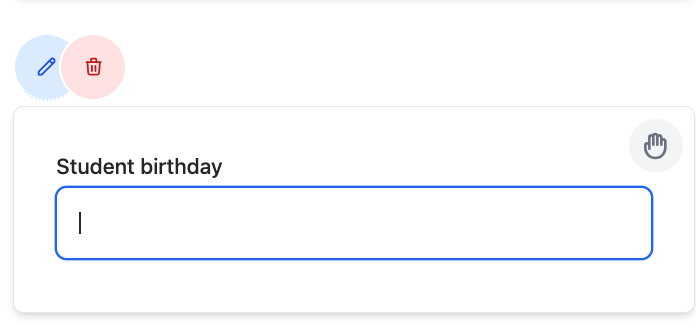
Use the Date field to allow respondents to select a date from the calendar popup.
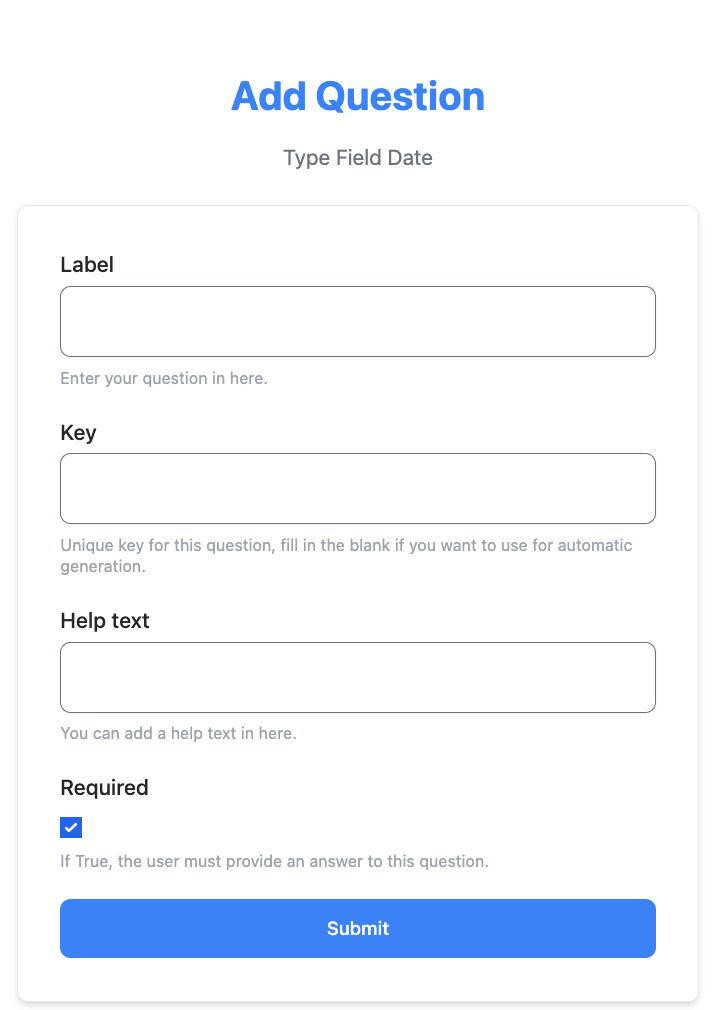
- Enter your question ("Date", etc.) in the Label field.
- Use the Help text field to add a description.
- Select the Required box to make the question required.
Rating Field
Use the rating field to collect ratings from respondents.
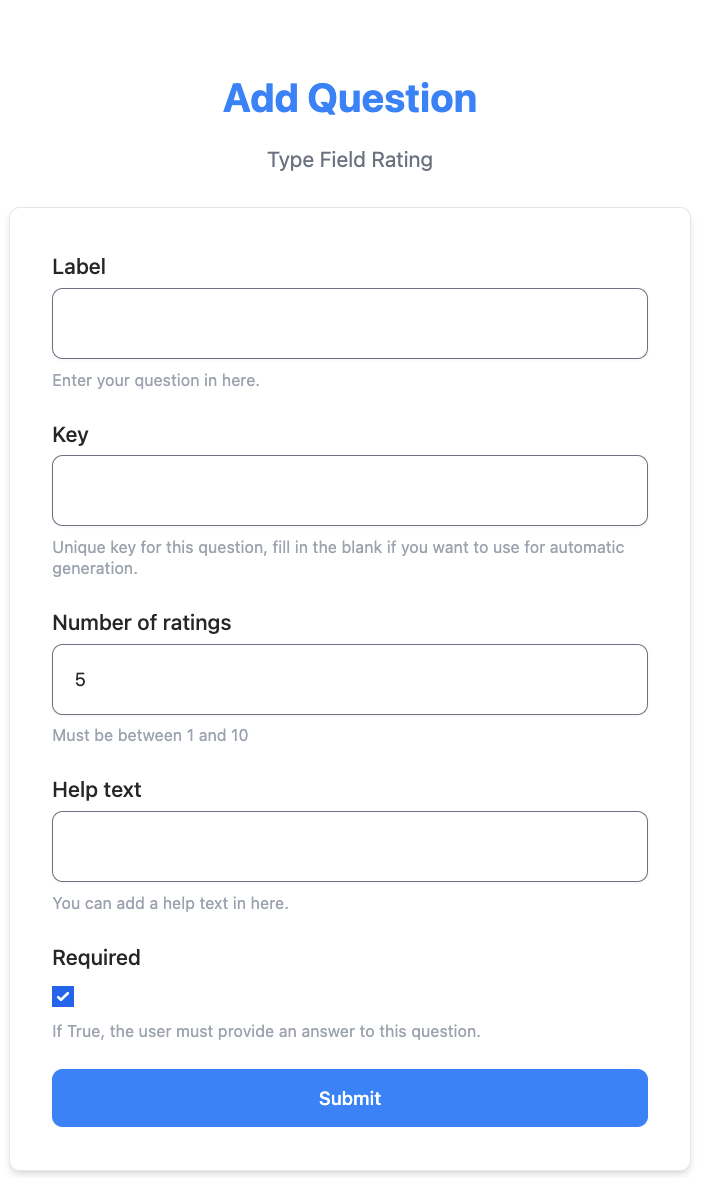
- Enter your question in the Label field.
- Enter the number of ratings you want to include (for a rating of 1 to 5, choose 5 for number of ratings).
- Use the Help text to add a description.
- Select the Required field to make the question required.
Editing Surveys
Access all non-archived surveys by navigating to myForms on the left side of your dashboard.
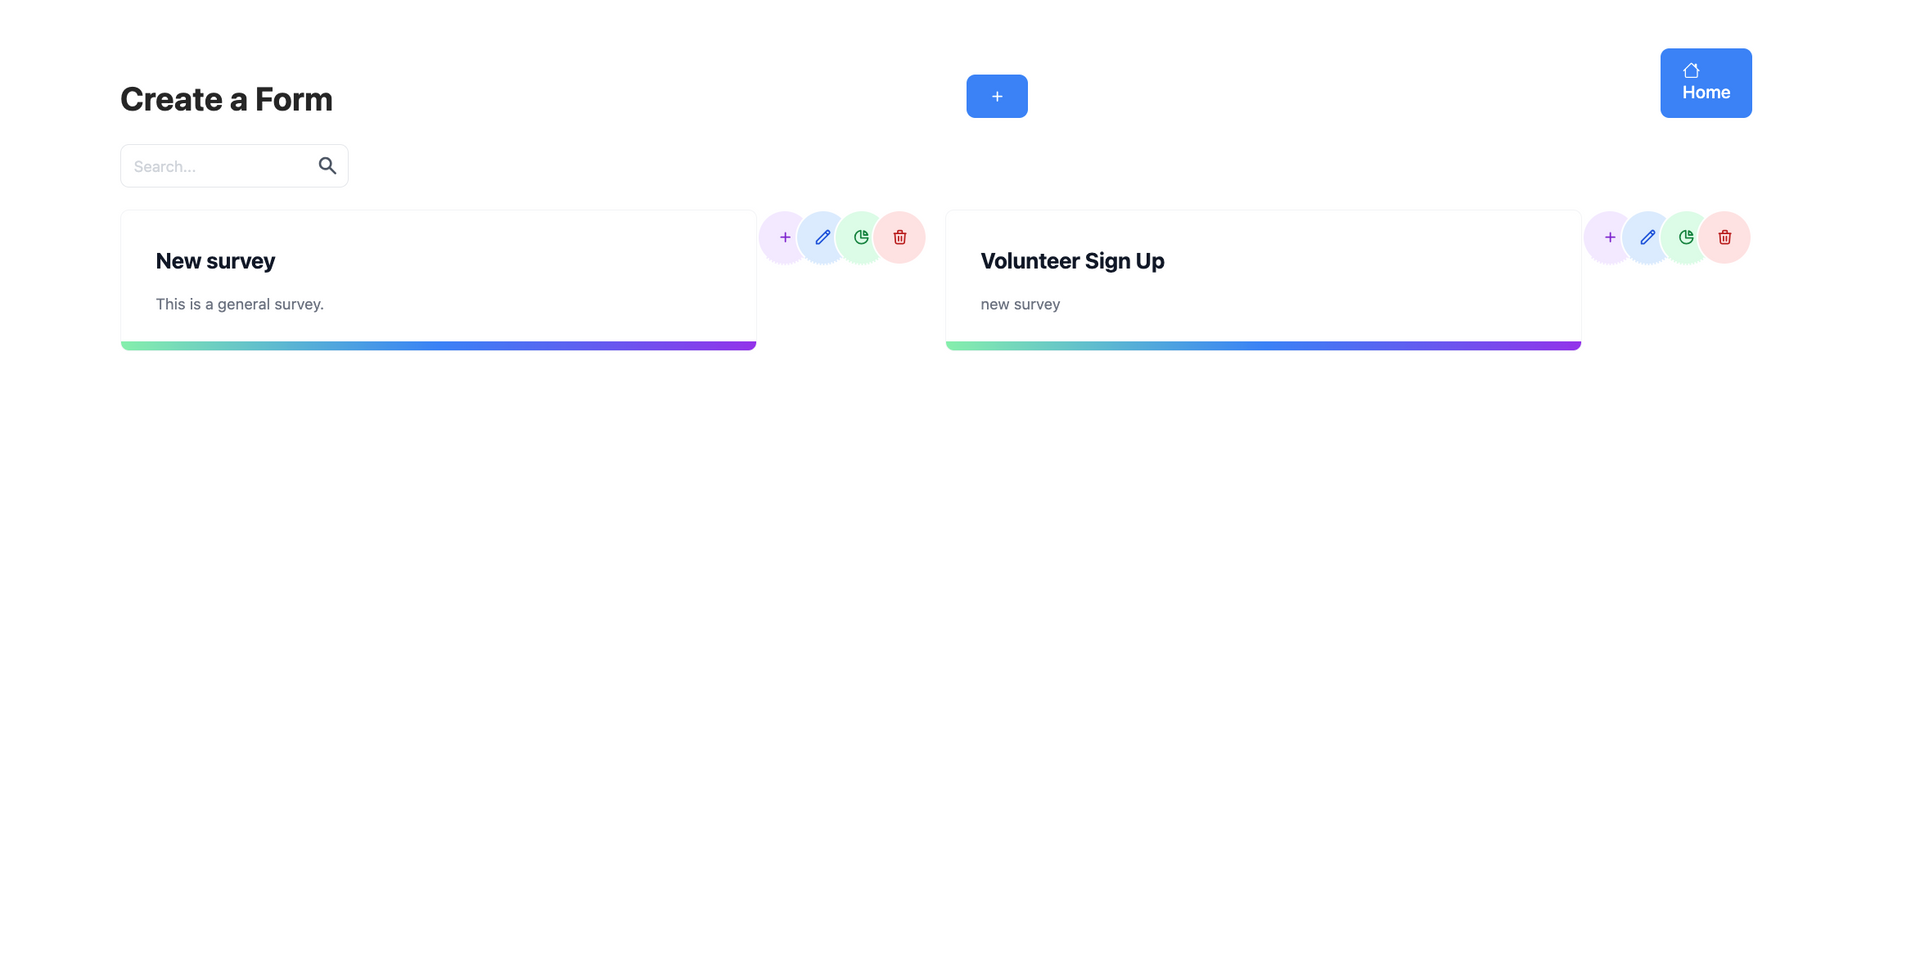
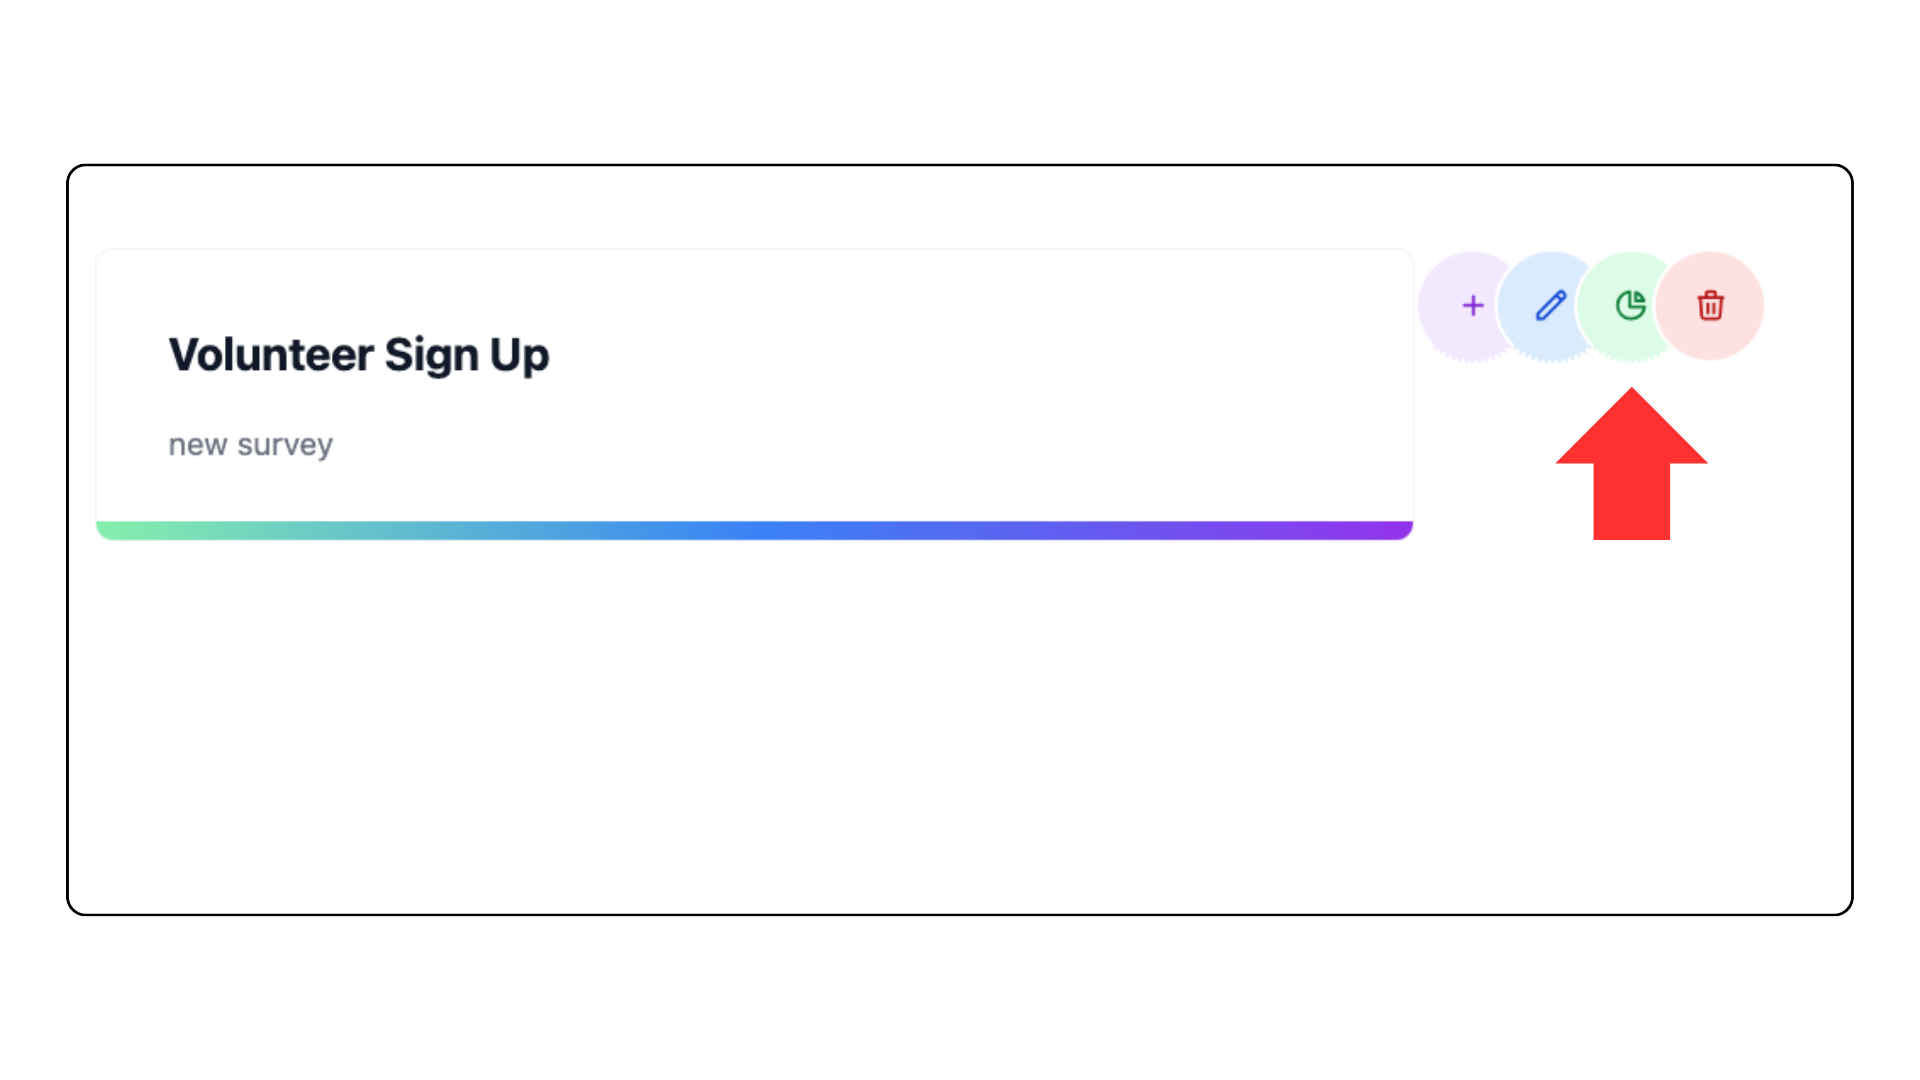
- To edit a survey, select the blue pen icon in the top right corner of the survey.
Reordering Questions
- Use the hand icon in the top right corner of each question to drag and drop reorder the questions.
Delete a survey
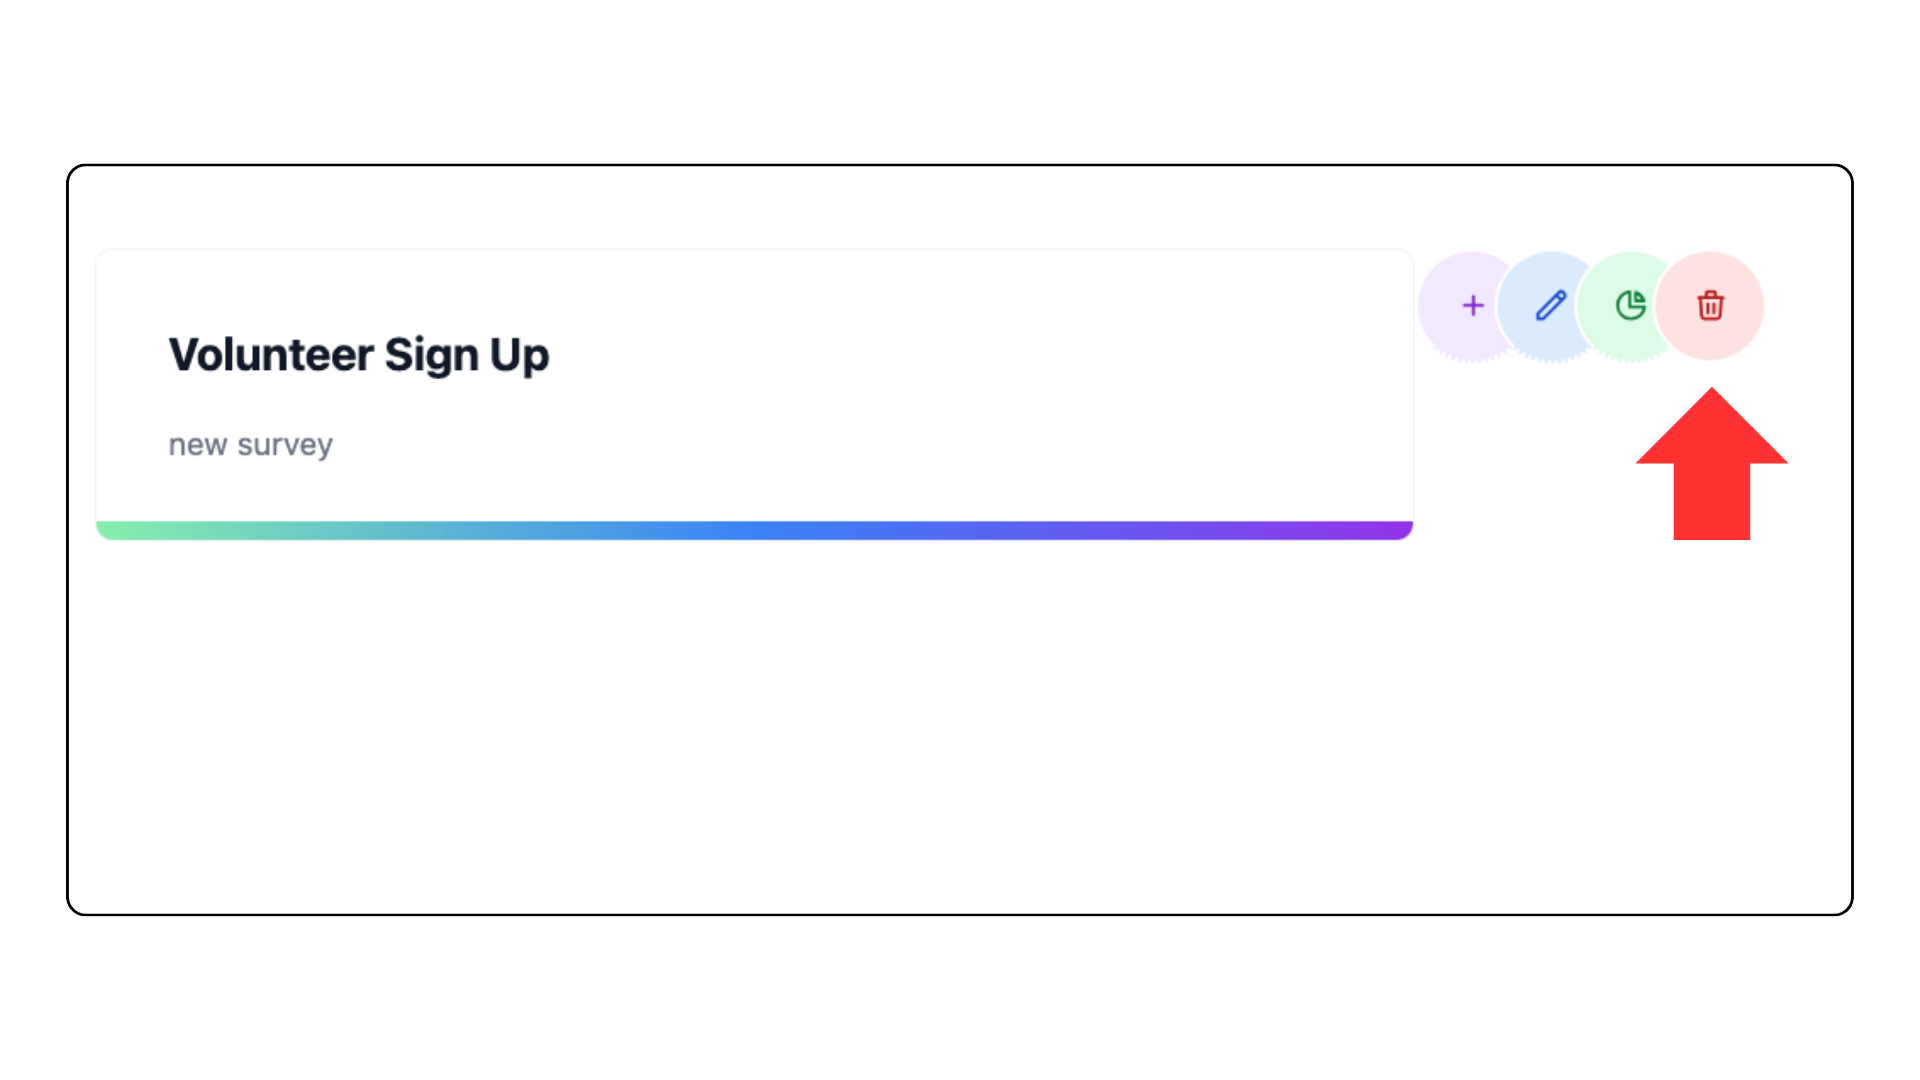
- Delete a survey by selecting the red trash icon in the top right corner of your survey on the myForms main page.
Viewing survey responses
- Select the green results icon in the top right corner of your survey on the myForms main page. This will show you general results by chart.
- Select the eye icon in the top right of the results page, which will show you responses by individual.
