

QUICK LINKS
The Getting Started Checklist
Welcome to myBlueboard, an easy-to-use app designed to keep band, choir, and orchestra programs well informed, organized, and successful.
Getting started is easy. We’ve provided a simple checklist with corresponding step-by-step instructions for each point. If you need any additional support, email support@myblueboard.com.
- Register student account
- Register parent account(s)
- Verify your email
- Log in at your custom URL when you receive account approval email
- Fill out your profile
- Find the student’s 4-digit code
- Link parent and student accounts
- Explore your dashboard
- Check out the
Using myBlueboard section for simple step-by-step instructions on how to use the various features.
What you can do with myblueboard
- View emails and message board posts
- Group-specific communication
- Booster access with specific roles and permissions
- Link multiple family members to student accounts
- View itemized fees and credits
- View current account statements and download invoices
- Make secure fee payments
- View itemized payment history
- Purchase items in merchandise shop
- Organize and download music
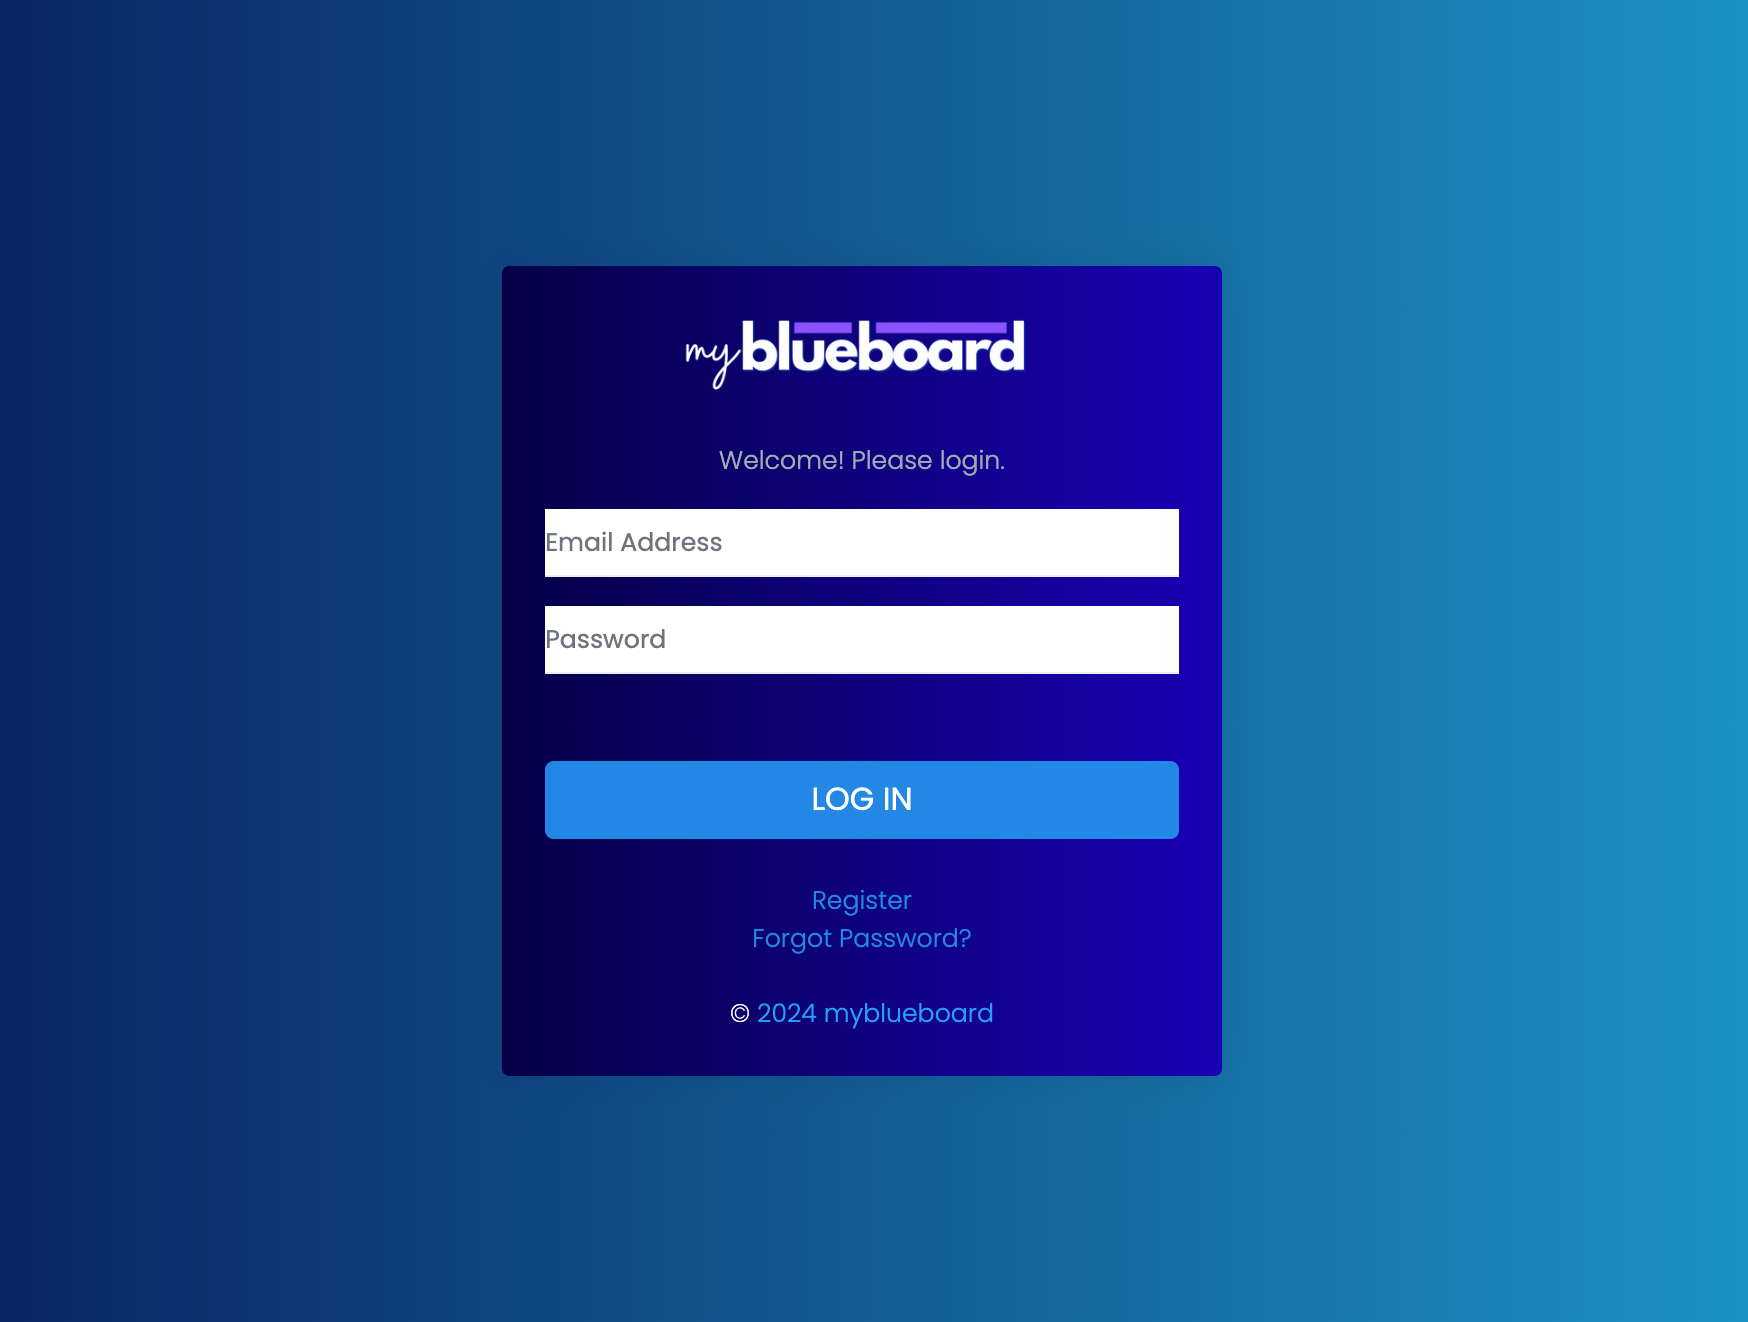
- Your Director / Admin will provide you with your program's custom website link.
- To register your student and parent accounts, navigate to the website and select the Register link below the login button.
- Choose the type of account you are creating: Student or Parent.
- Enter your information and create a password.
- Once you submit your request, you will receive an email with an Email Address Verification Link.
- Click on the link to verify your email.
- When you register, the Director/Admin of your program will receive an Account Request
email. When the Account Request
is approved, you can login to your new account with your email and the password you created.
Finding the 4-digit code
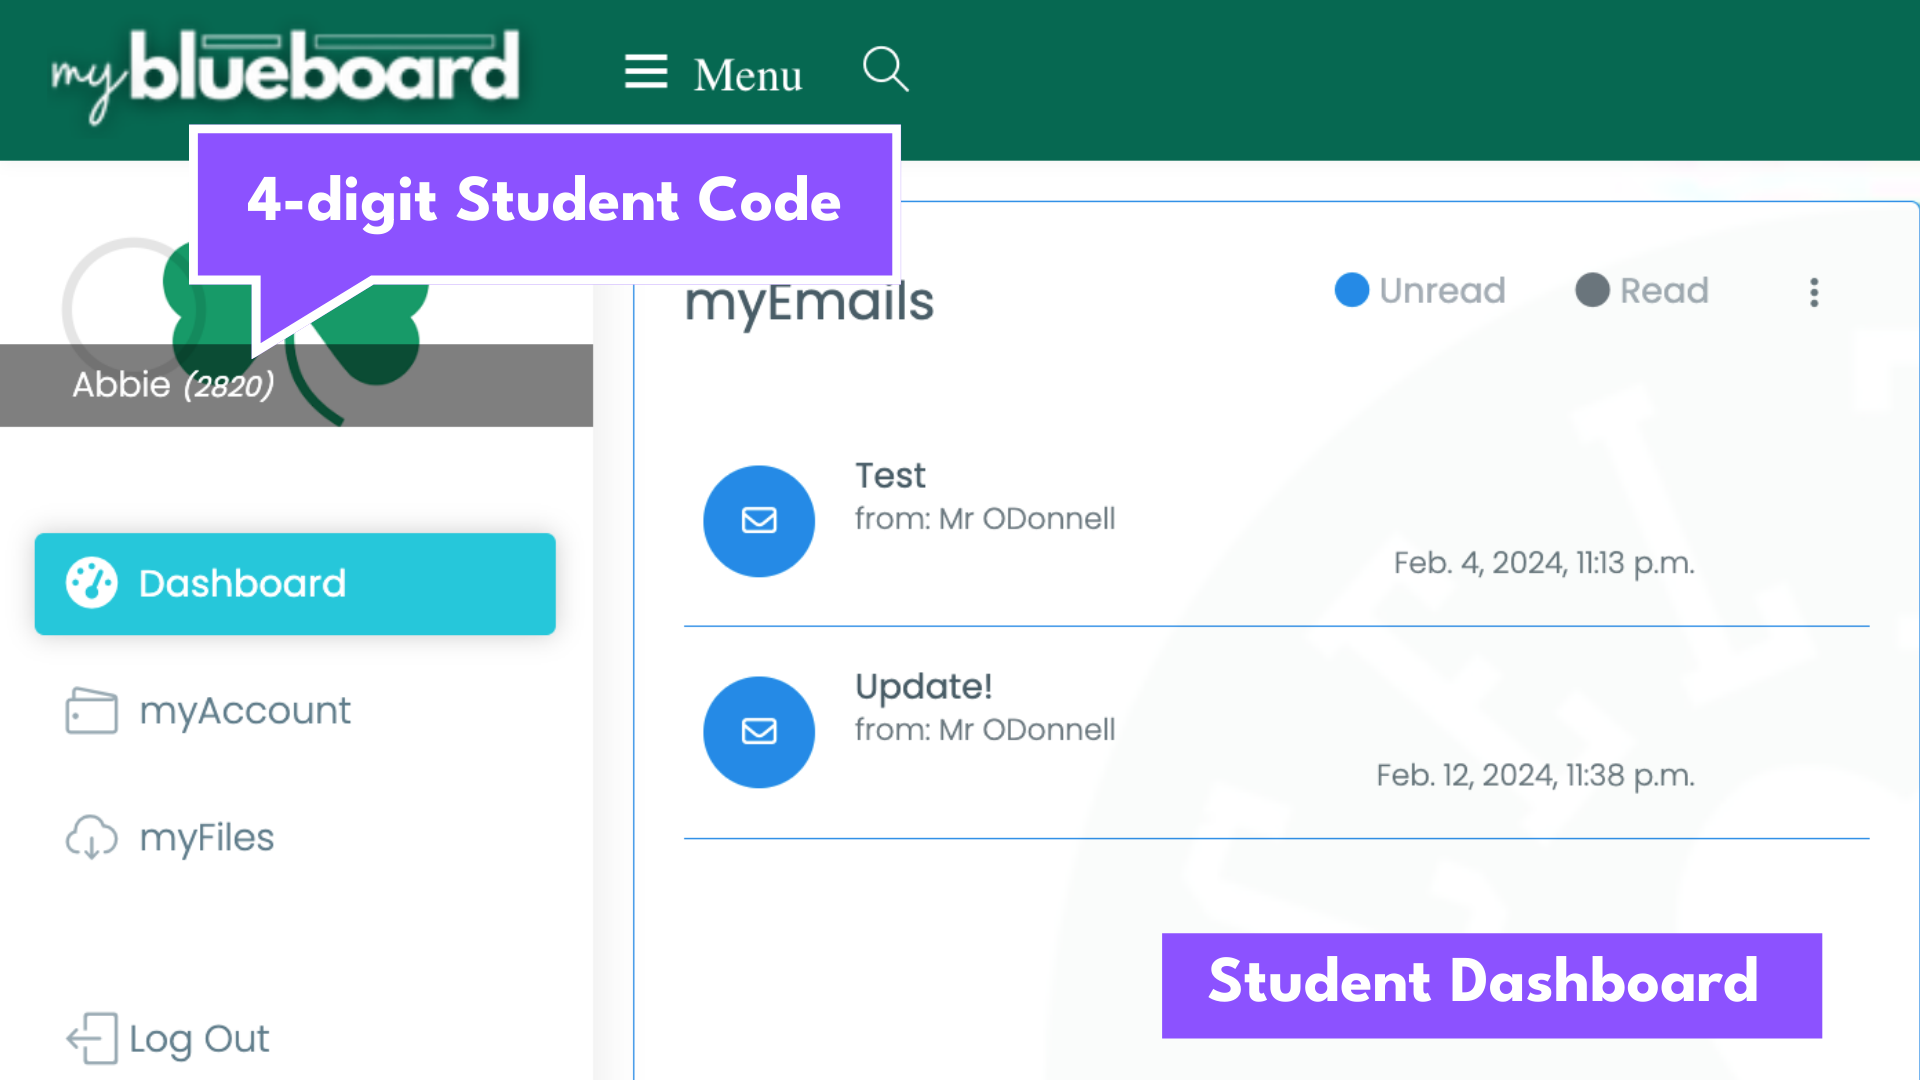
Each student has a randomly generated 4-digit code.This code is not the student ID. You may think of it as a temporary passcode. It is a security feature for linking student and parent accounts, which allows parents to view account statements and receive emails sent to students.
- The 4-digit code is next to the student's name in the left-side menu bar when the student is logged into their account. (see image below).
- The Director/Admin can also provide this code if needed.
- Codes are changed frequently for security, but not on weekdays.
Linking parent and student accounts
- First, find your student’s 4-digit code. You will need it to link accounts.
- Navigate to the myFamily panel on the right side of your dashboard.
- Select the yellow Add button.
- Select Link my Student from the dropdown.
- Enter the 4-digit Student Code and select your relation to the student.
- Select the Link Account button.
- After registering, parents will see a section called myStudent(s) on the far right of their dashboard (mobile: the myStudent section can be viewed by selecting the myInfo tab.
- Parents can add multiple children.
- Once connected, parents will see each child's itemized invoice under the
myAccount tab in the menu.
Editing parent and student relationship
- Select the Add button next to myStudent section.
- Select Edit relation.
- Select your student and select the new relation from the dropdown menu.
- Select the Save Changes button.
Add or edit student and parent profile information
- Navigate to myInfo on the right side of your dashboard.
- Add your information and select Save Changes.
- If you change your email address, you will need to verify it again before the change is reflected in the database.
Using myblueboard
Calendar
- Your music program's public Google Calendar can be accessed by scrolling down on your main dashboard.
- Click on an event and a pop up will show you the date, time, and description of the event. You can see more event details and copy the event to your personal Google Calendar from here as well.
Email and myBoard
- Only directors or admins can send emails or post messages.
- Emails and myBoard posts can be found on your main dashboard.
Fees and Statements
- Parents and students can access their fee statements by selecting myAccount from the left side of the dashboard.
- On the left side of the statement, you will see Total Fees, Payments made, a pending Balance, Total Accrued Credits, Credits Used, and Credits Available Balance.
- On the right side of the statement, you’ll see a section with three tabs: Fees, Credits, and Payments. Under the Fees tab, you can find itemized fees (by child, if a parent has more than one child attached to their account). The Credits tab will show available and used credits/miscellaneous payments.
- You can access downloadable invoices under the Payments tab
Pay Fees
- Select a fee from the Fees tab. This will add it to your Cart.
- Select the yellow Cart icon in the top right corner. This will generate an invoice.
- Select Proceed to Payment to make a payment through PayPal. Select Save to download to your device.
- If you would like to split a fee, an Admin or Director can do that for you.
Quick Links
- Directors or Admins can set up custom links for your convenience in the 4-square icon dropdown in the top right of your dashboard.
Reset Password
- Students and parents can reset their passwords unassisted by navigating to your custom URL and selecting Reset Password.
- An email will be sent with a link to reset the password.
New Paragraph